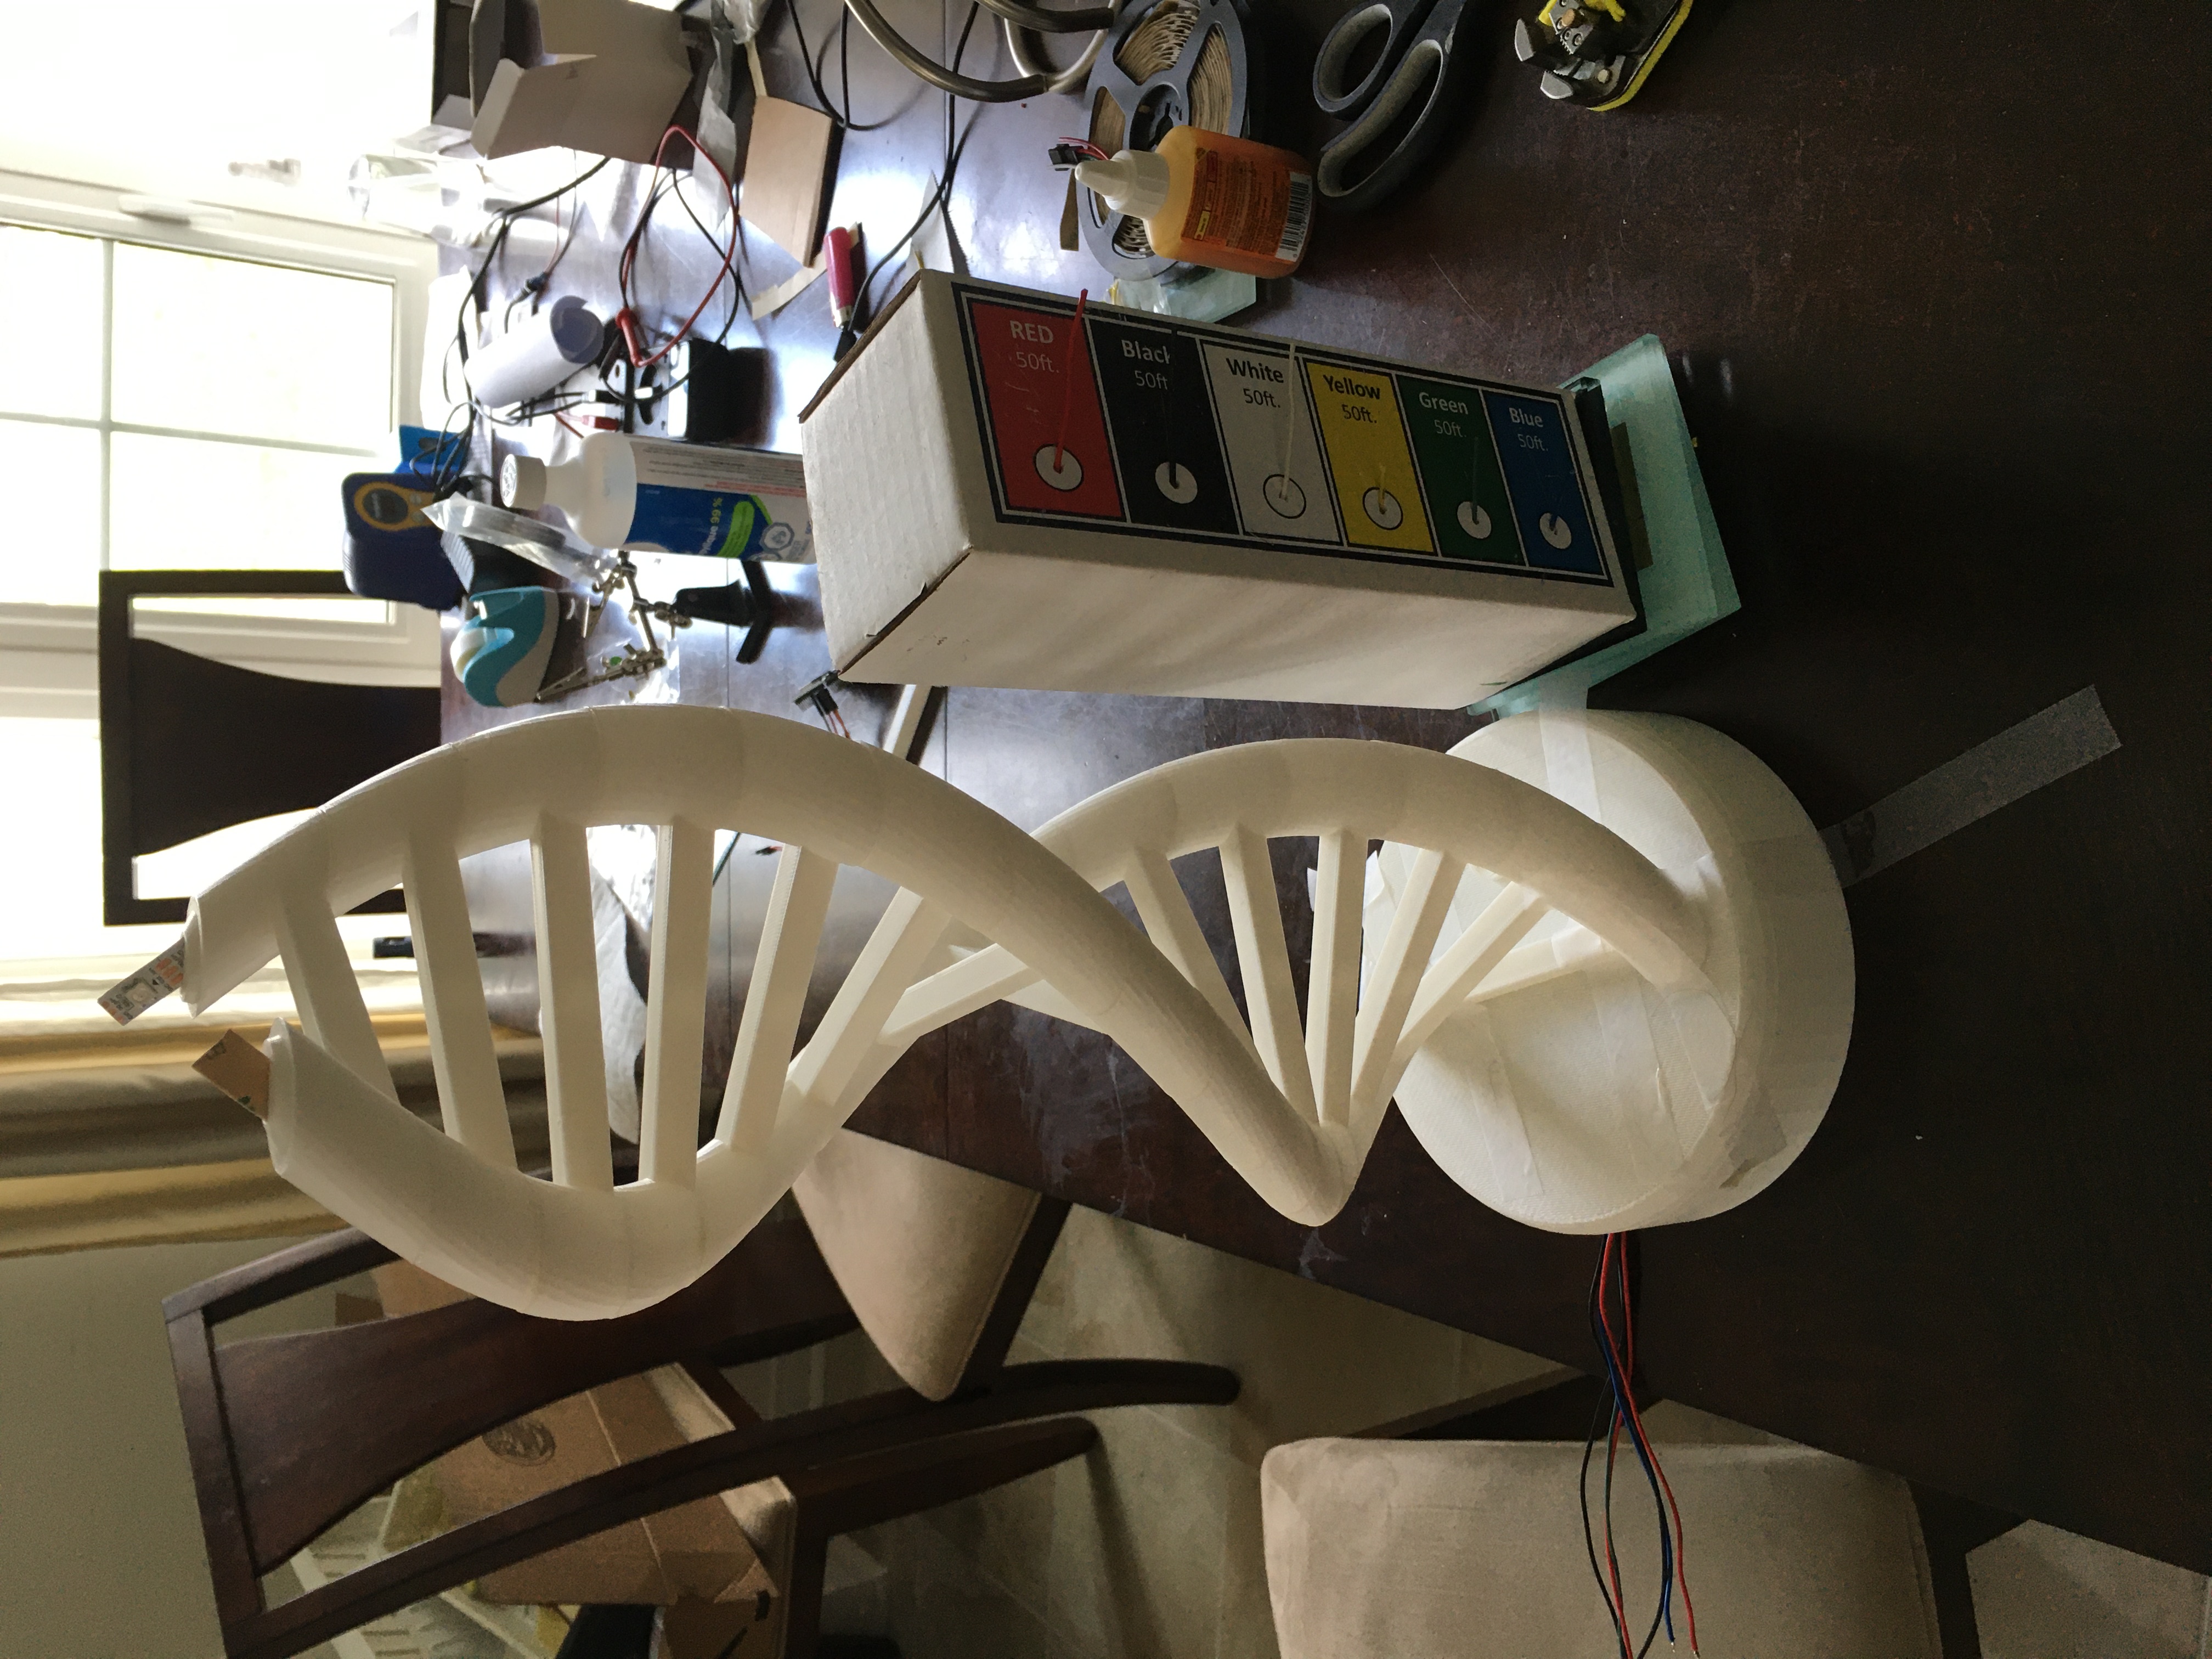
In December 2020 I got an Ender 3 Pro 3D printer. It was very exciting and there were so many things that I could print, the possibilities were endless! After a while of looking around on Thingiverse looking at all the super awesome things that I can print, Maria and I came across the perfect thing. We found a RGB DNA helix lamp, it seemed perfect! We were in need of a desk lamp, it fit her love of biology / the sciences, it was RGB, and it was a cool hardware project that we could do together.
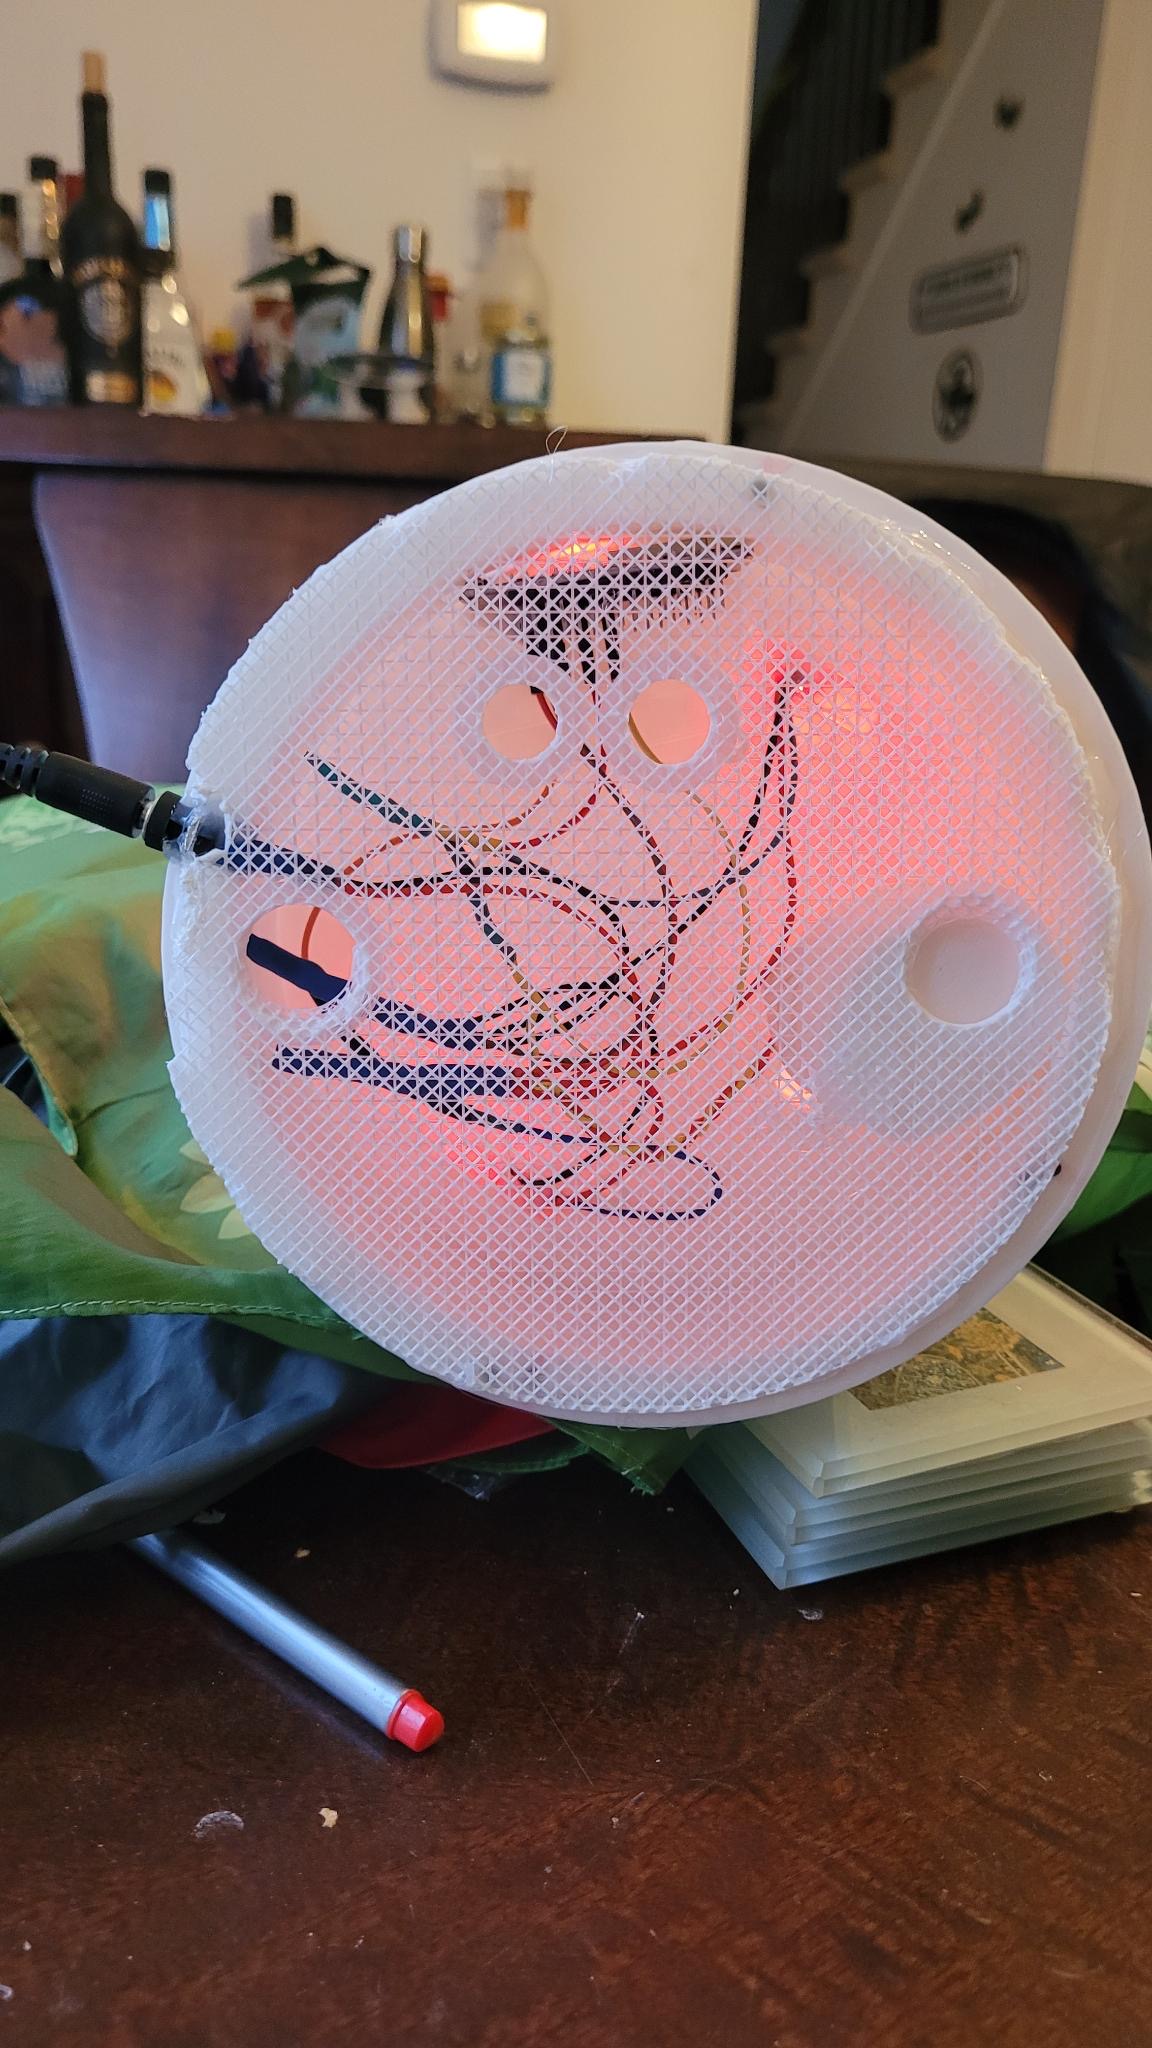
After we did some experimentation with different infill patterns and wall thicknesses to find the perfect balance of the amount of light that can shine through, and the sturdiness of the print. We found that a concentric infill pattern is best, it does not show a criss-cross pattern, a wall of 2 (or maybe 1 I cannot remember now) and an infill of 25%. The base was printed thicker to make it a stronger part.

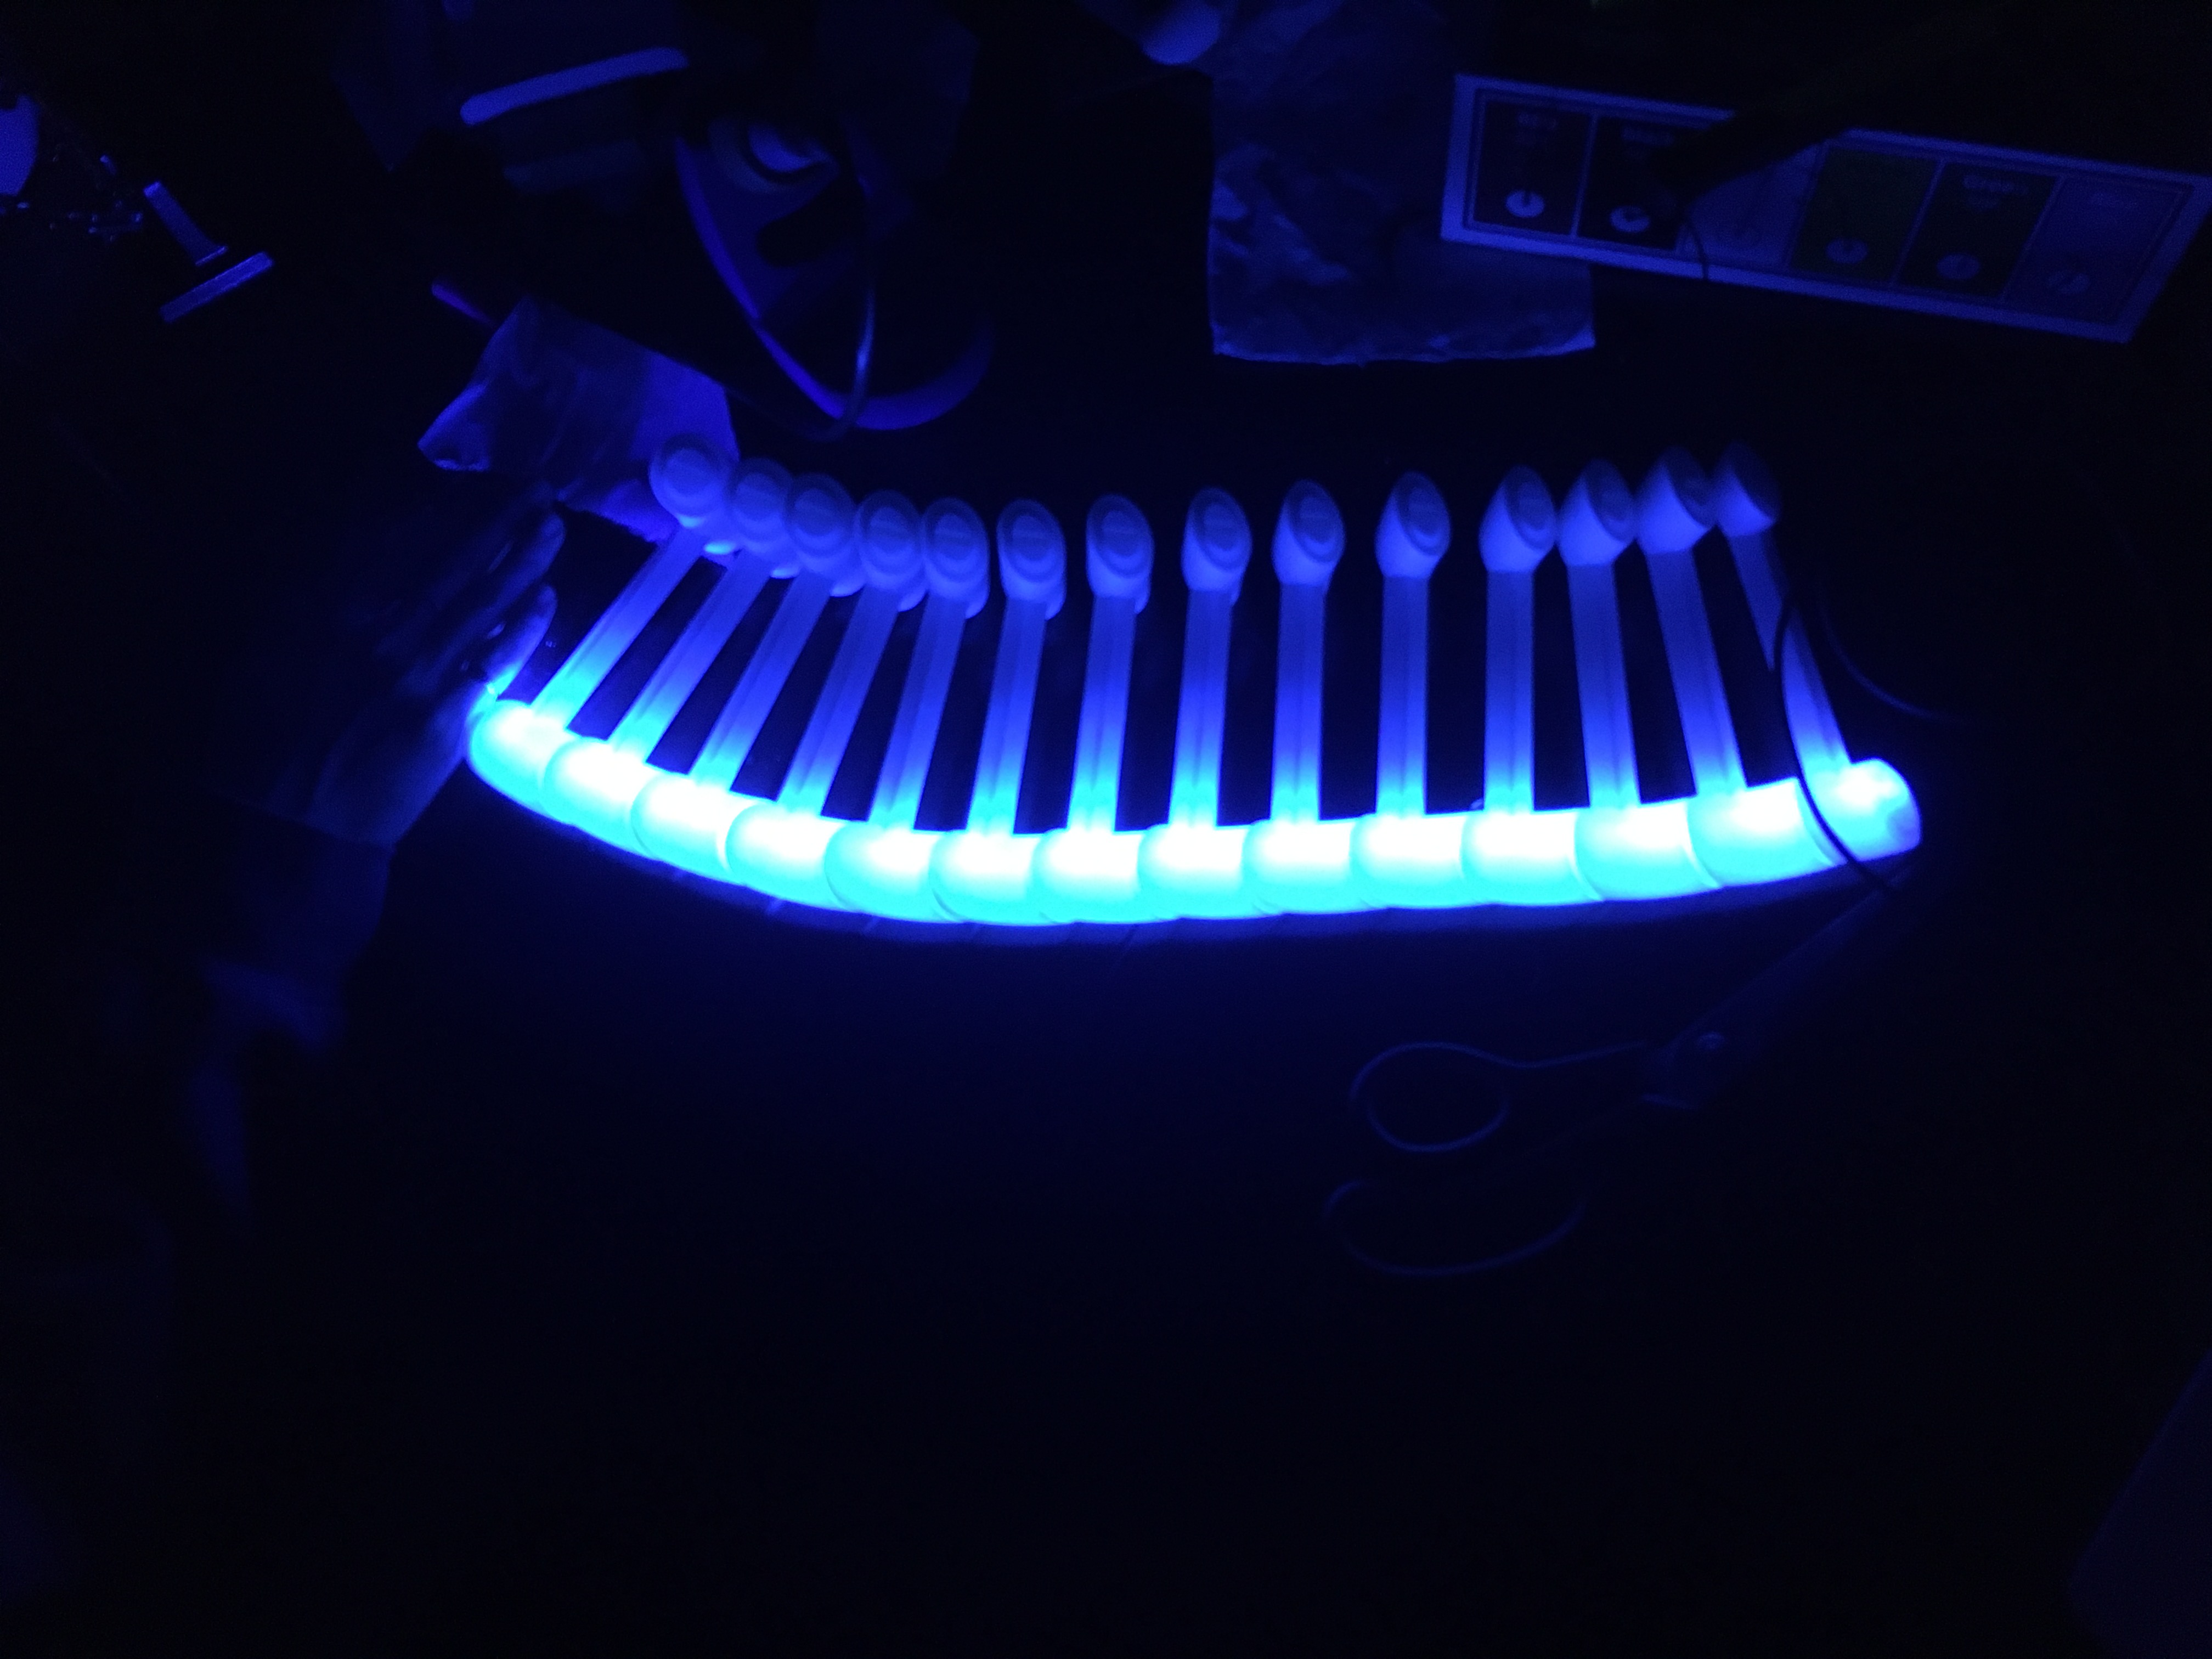
Once all the pieces were printed we tested it to make sure that the LEDs shine through the rungs. And it worked!!! The first test was successful. The next step was to feed all the LED strips through and make sure everything fit before gluing it all together.

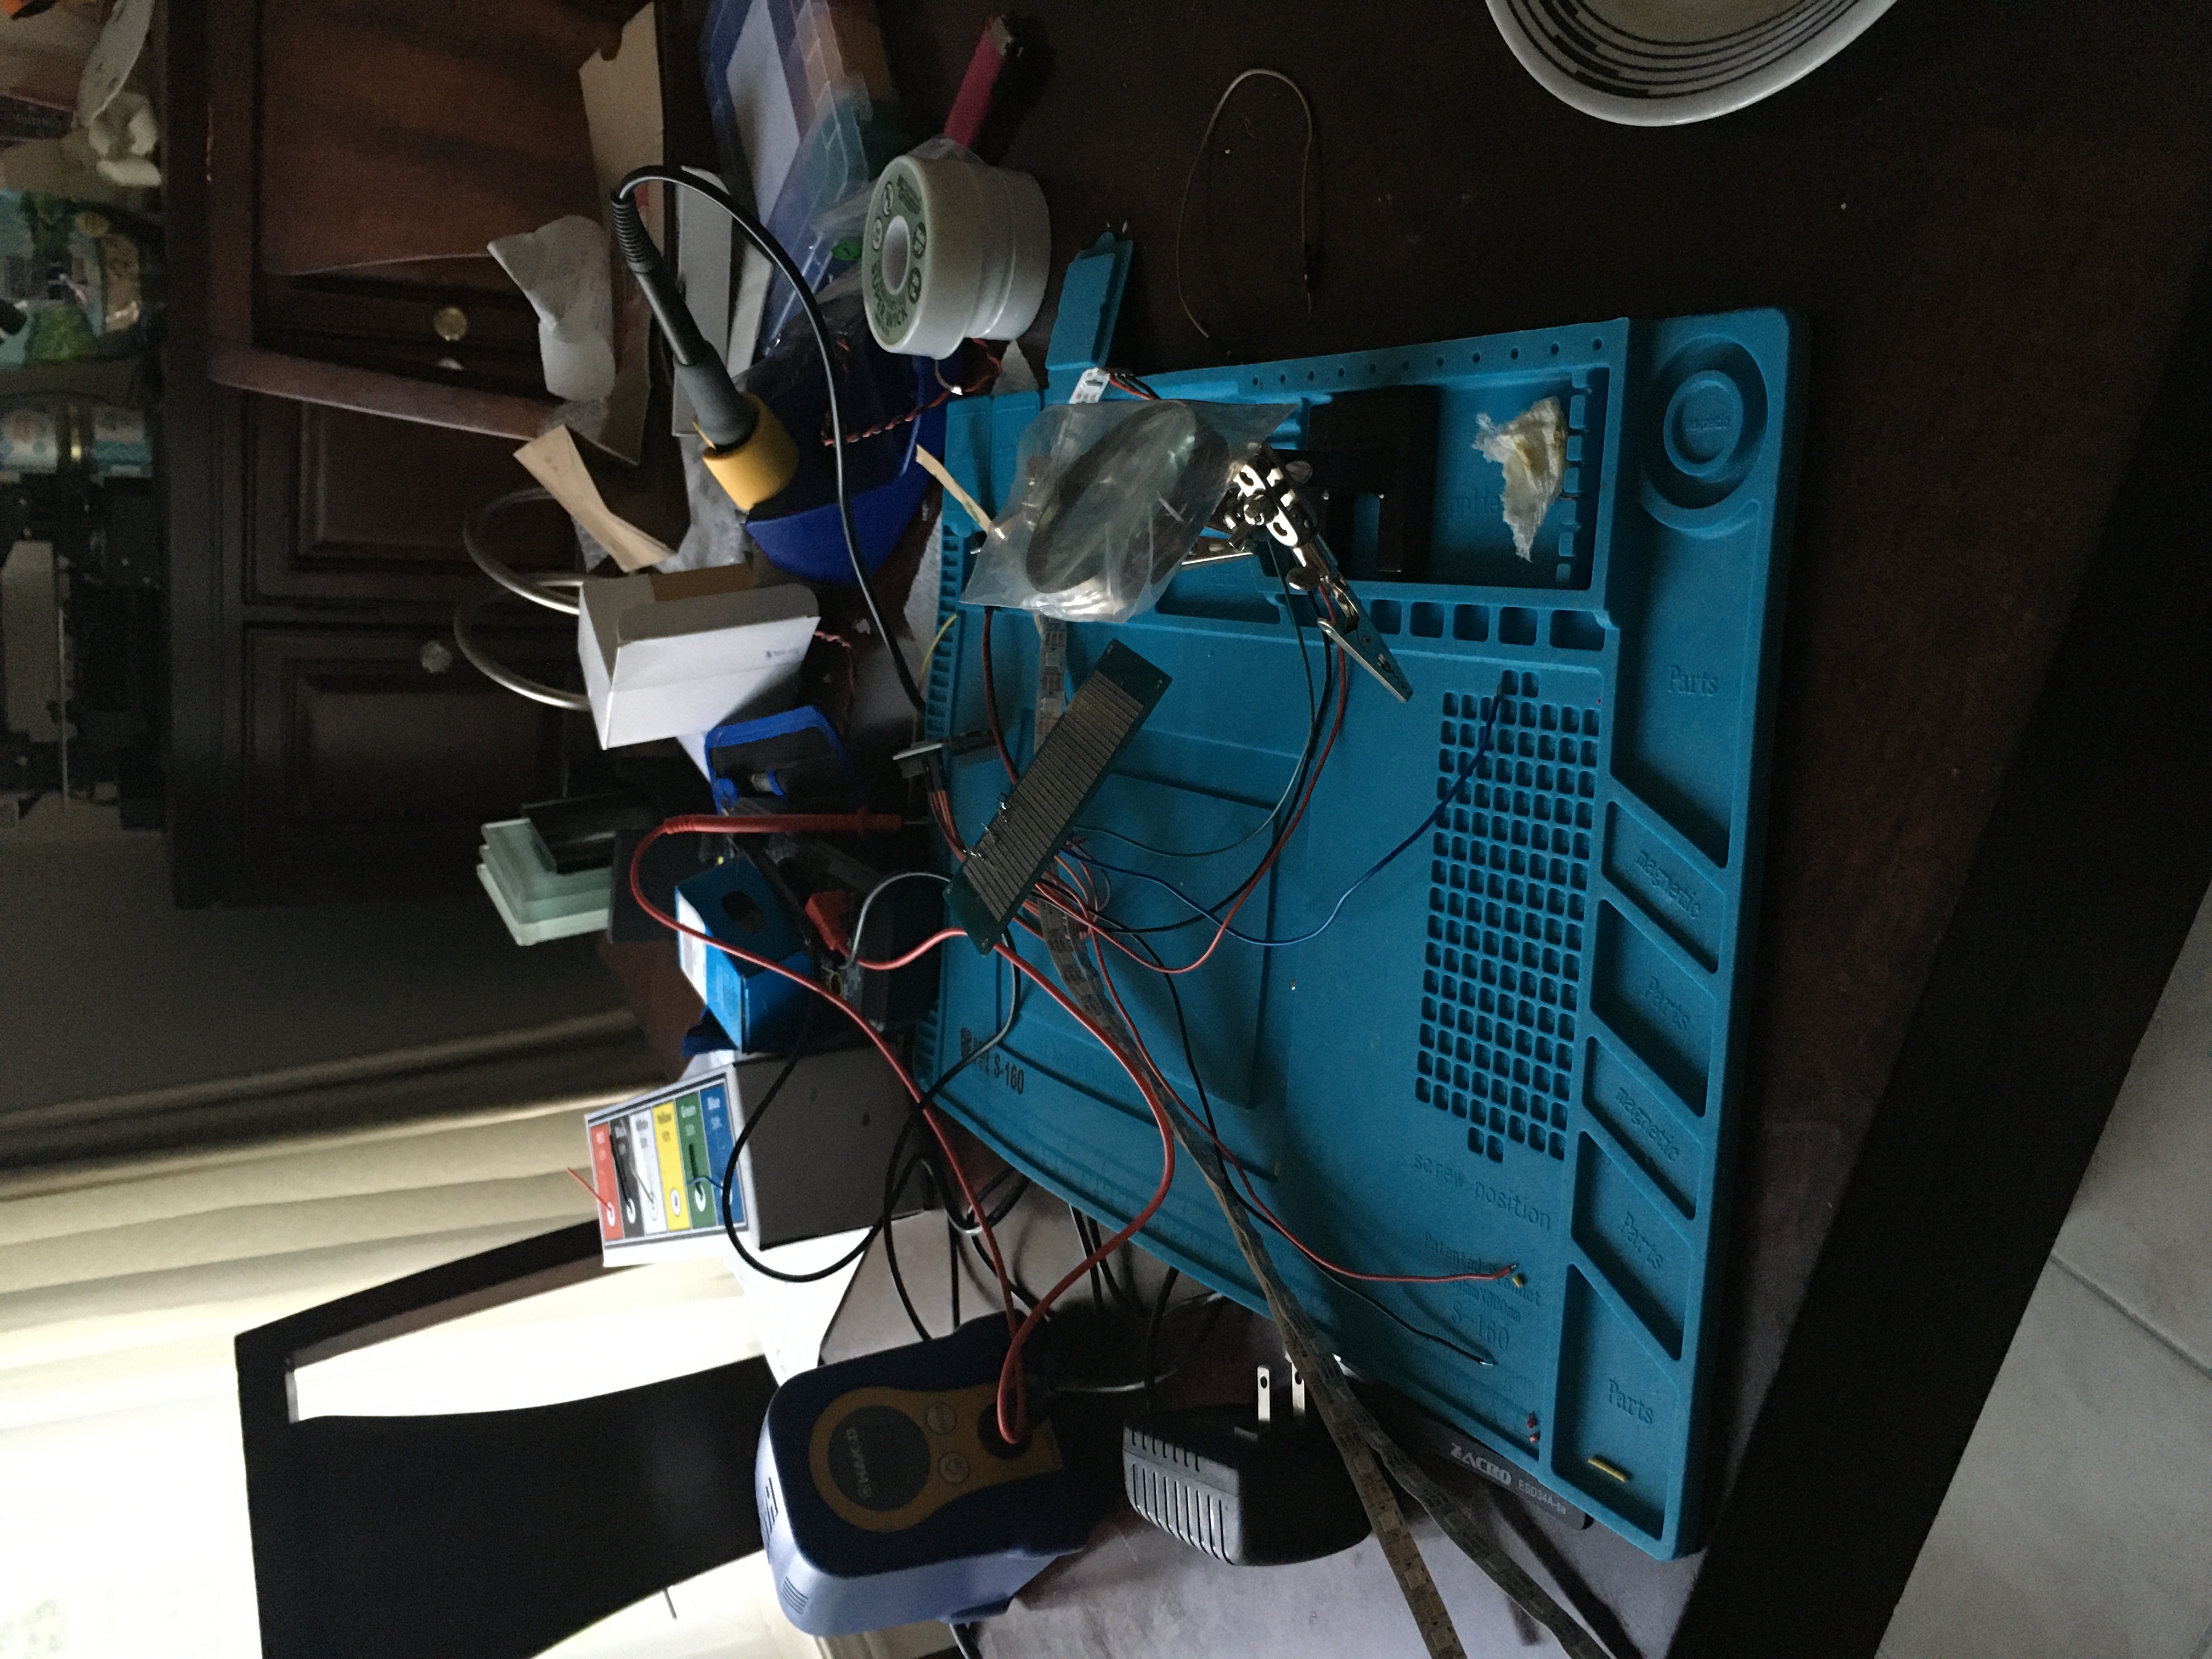
The next step was to wire the LEDs to the controller, and connect it all to power. The original project suggested using an Arduino Nano to control the LED with a button, potentiometer and an IR remote control. But I did not want this, having to press physical buttons is sooooo much work, I wanted to be able to control the light using home assistant over Wi-Fi. So instead I ordered an ESP32 and used that as the main control board with a 5v 3A power supply.


Wiring it all together went fairly well, I only killed one of the LED strips that was being used, but that got replaced, and it worked perfectly!
A video of the finished light is shown in the short clip bellow.
The program that runs on the ESP32 is esphome. ESPHome is an awesome project that I found that integrates directly with home assistant to provide easy control over the light from anywhere that I can connect to my Home Assistant instance.
Issues and Challenges
Overall the project went really well, and it was by all means successful. However, there were a couple of challenges that came up while assembling the project making it take several months to complete.
- Difficulty gluing the PLA together
- Killing one of the RGB strips
- The light mysteriously stopping working
The first issue came up when assembling all the separate rungs of the helix together. We had several types of superglue and hot glue, none of which worked on the first try. Unlike on other material where supper glue will harden within 30 seconds the glue on the plastic did not harden, even after 15 minutes passed. This threw a significant wrench in the plan if we could not get the pieces to go together. After several attempts we discovered that the glue will cure if it is left long enough, so that is what we did. We glued all the pieces together and left it for several days to harden. And it worked!!
The next challenge was when one of the LED strips died. During the test assembly everything worked perfectly, both helix’s lit up. But once it was all glued together one did not work. All that work assembling it and gluing all the pieces together had to be undone. After several days trying to figure out what went wrong I determined that the strip of LEDs must be dead, how that happened I am still not sure, hardware is still largely a mystery to me. But the strip was replaced and everything was glued back together and the problem was fixed.
The final issue came up not all that long ago, the light just stopped turning on one day. This was a very sad day, after so much time assembling and troubleshooting the light it was very sad that the light did not turn on. I figured that the over the air updates were no longer working, and I needed to plug in the light to get it working again. So we took the bottom of the light off and discovered that we did too good of a job gluing the controller in, and the USB port could no longer be accessed. So instead I pressed the reset button and plugged it in elsewhere to see if that would fix it, (the ‘normal’ plug that was being used for the light was not convent to get to for testing). And to my surprise it worked, I was not expecting the reset button to work, but I was happy that it did. So I plugged in back in, in the normal spot on the desk and nothing happened. That was quite the head scratcher, it worked in one outlet but not another. This seemed like some sort of power issue, so I got a different power cord and that worked. Such a simple solution. That was a frustratingly simple solution and I wish I tried it sooner, there were several months that we could have been enjoying the lamp had we just tried to use a different power adapter.
Inspiration for future projects
This was a very nice project to do, I now have a nice lamp that we made that is Wi-Fi connected and RGB. Since making this light we have thought of several other ones that would be cool to make either for us or to make and give to others as gifts. This particular Dino light looks adorable, and I want it.