When I was moving out of university residence after I finished my first year of my undergrad back in 2016, I was doing what I suspect most people do: figuring out what I needed for my room. The desk was an item that I was fairly particular about; I absolutely hate small desks. You have got to somehow fit your laptop, extra monitor, textbook, and notes all on the one work surface, and need to not have them all in one pile. A typical desk is fairly small; that would not do. I ended up getting an old lawyers desk. It’s massive and takes up a ton of space, somewhere around 3 feet by 5 feet. This worked wonderfully; I could fit everything that I wanted on that desk and still be able to use all the desk space. The only downside was the massive supports on both sides that contained the cupboard and drawers. This made it a little bit difficult to get a chair under the desk.
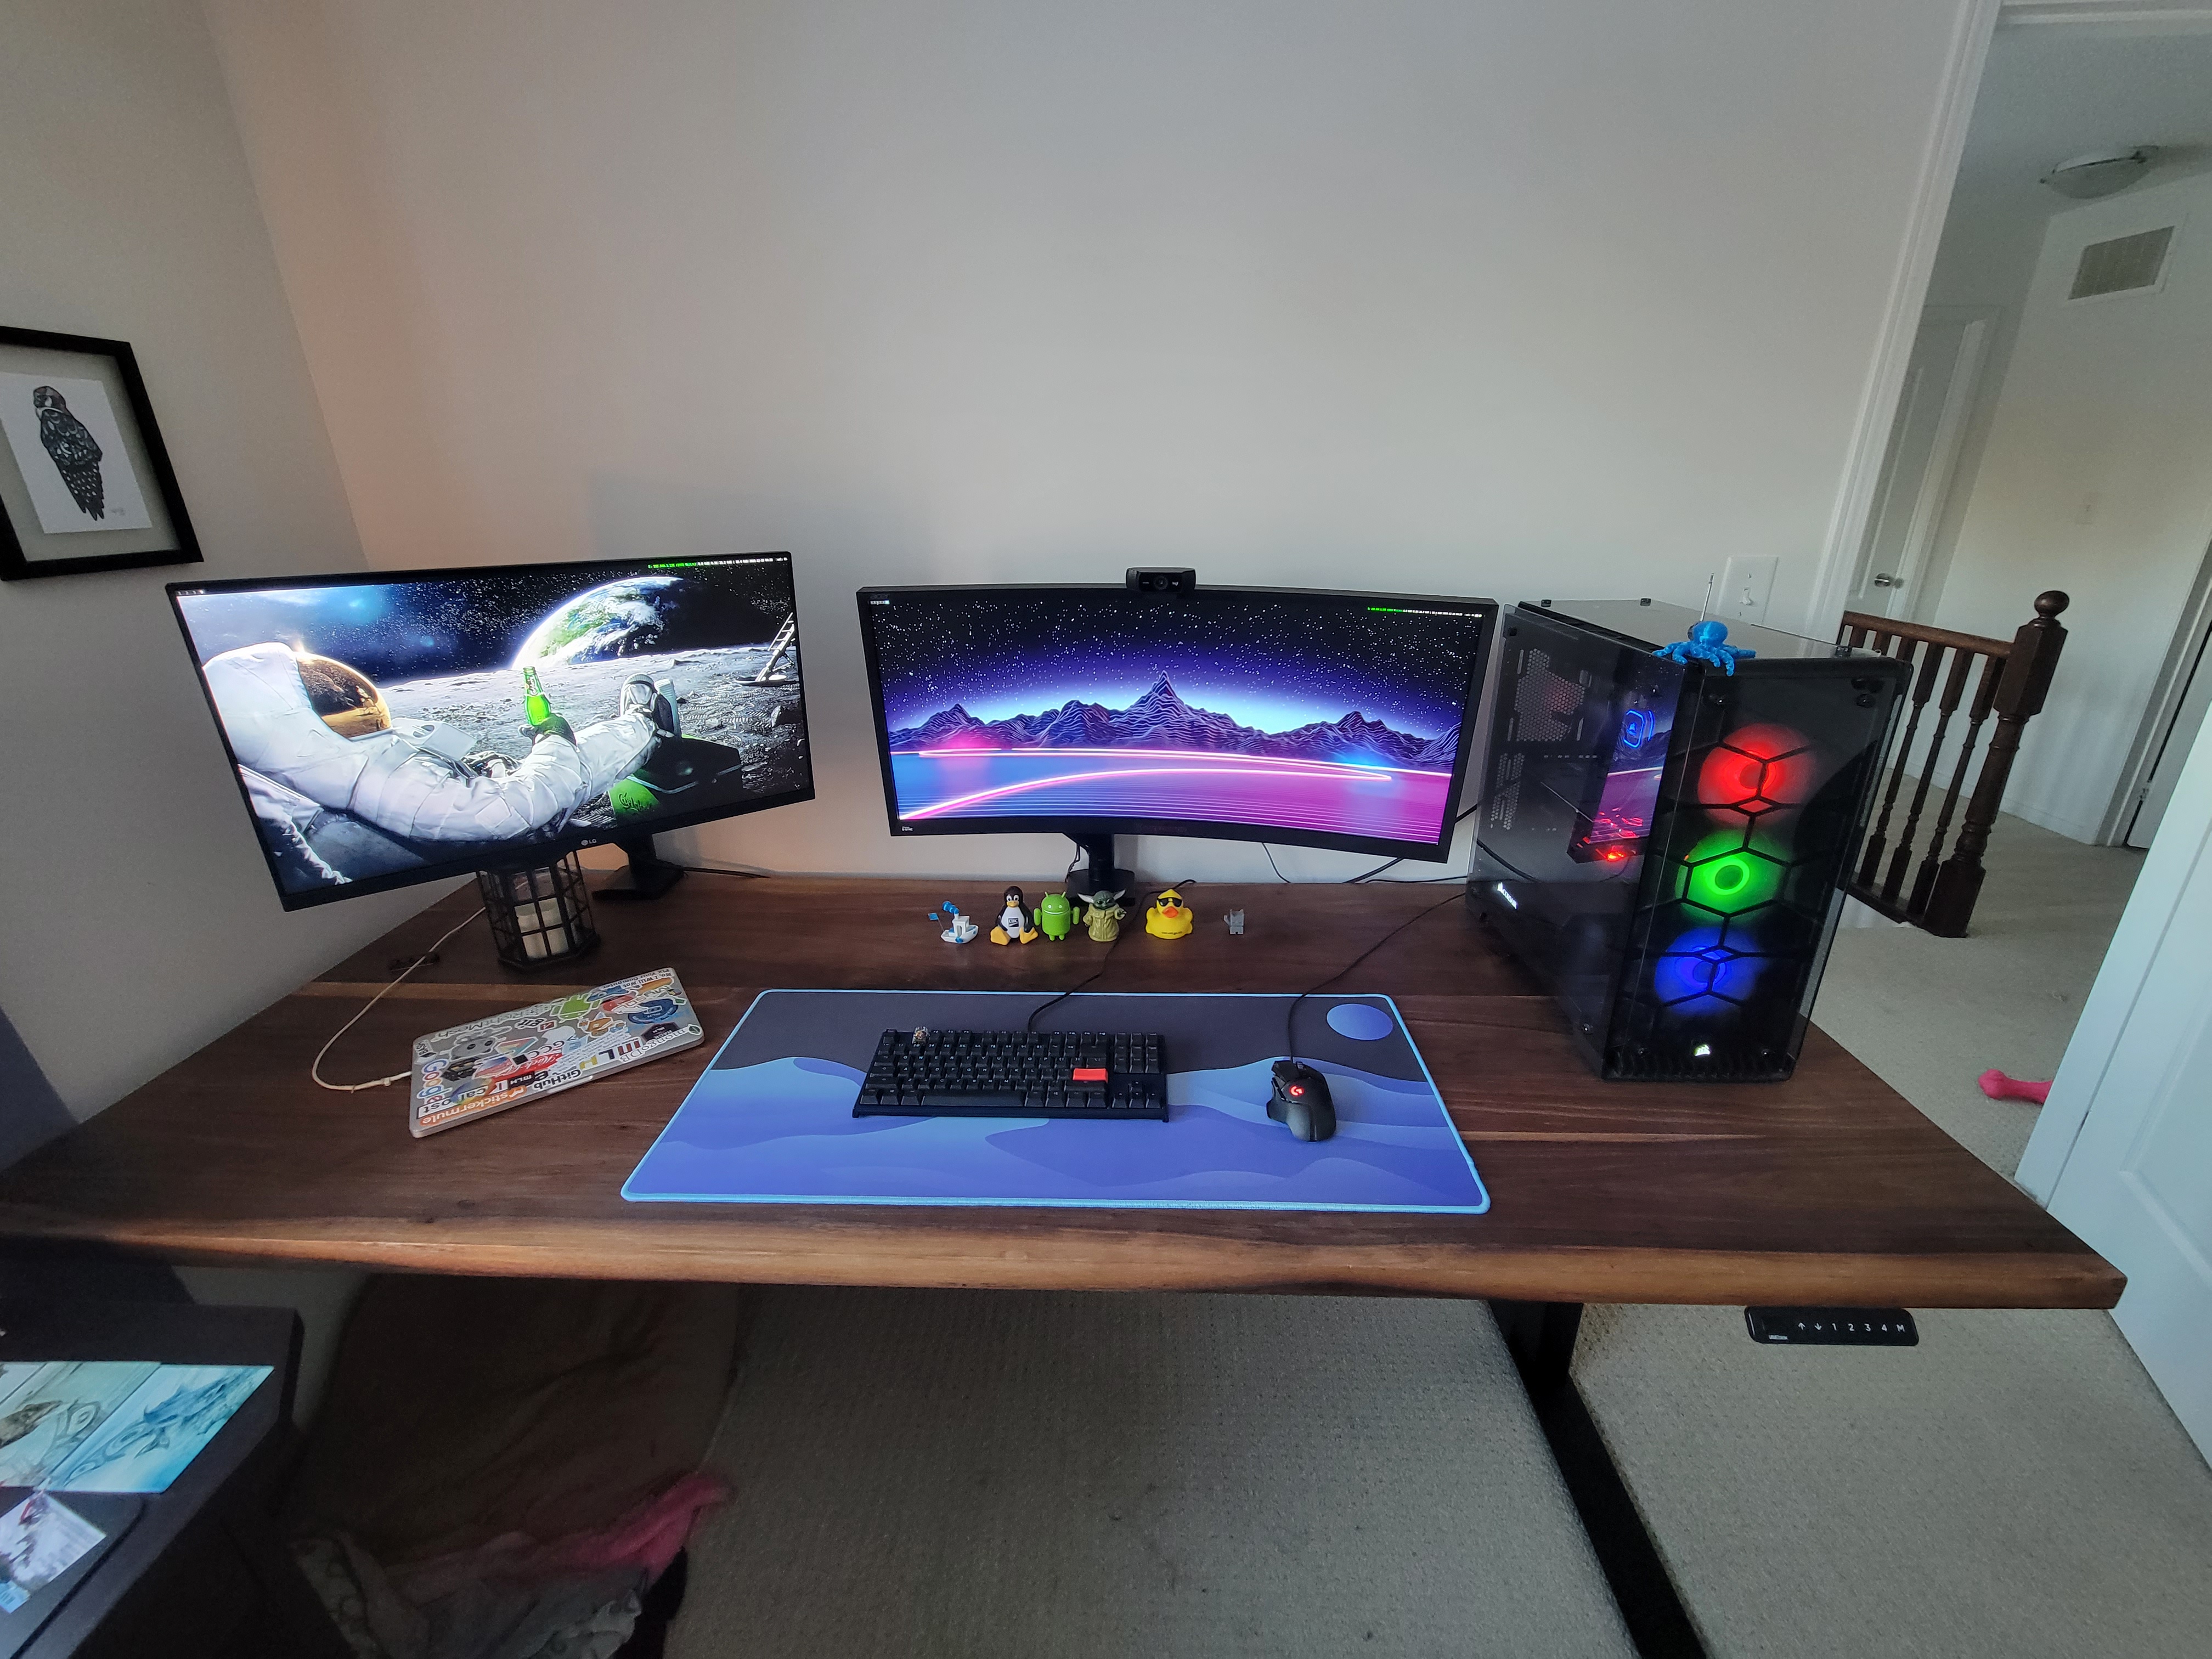
Now fast forward several years, it’s 2021 and the COVID-19 pandemic is going on. I have built myself a desktop and have not one, but two monitors to fit on the desk, along with my laptop, keyboard, and my various notes. The desk is starting to feel a little crowded.
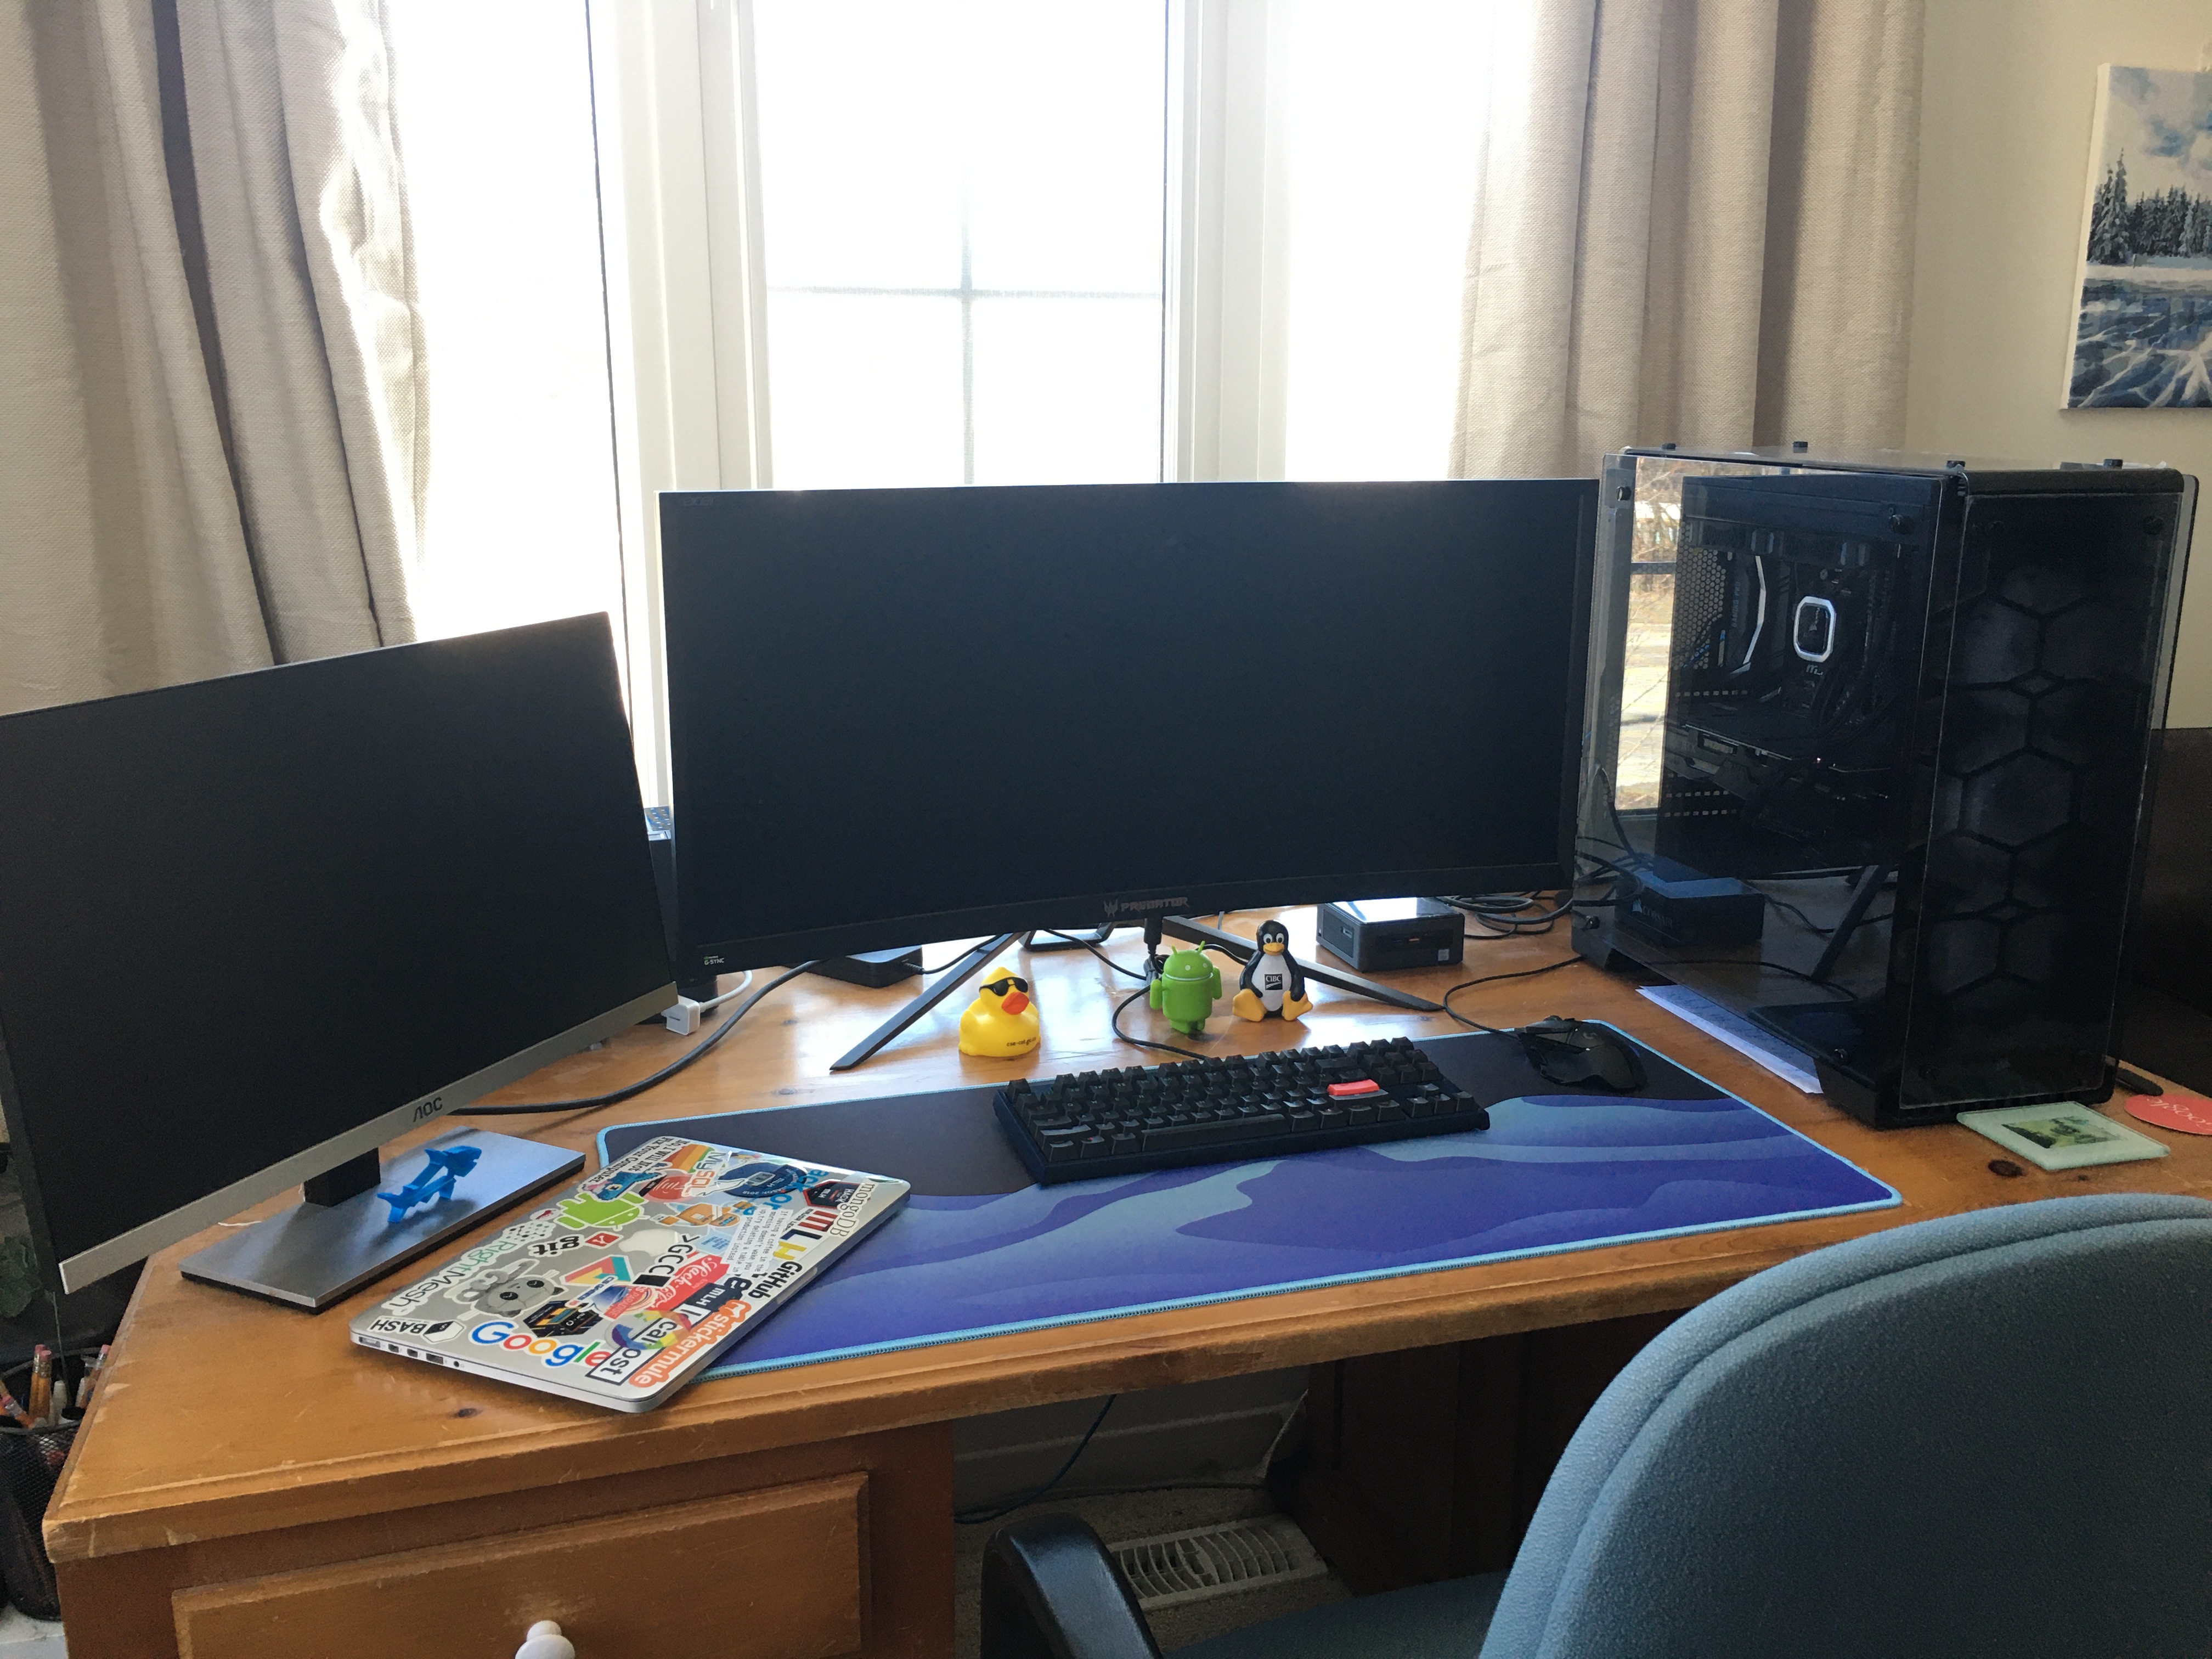
Plus sitting at a desk on the computer for upwards of 10 hours a day is probably not the best for me (but that’s a whole other issue). Around this time I started thinking about getting a new desk: a fancy sit/stand adjustable height desk. I started looking at options that were available, and found that there are a number of companies that make them. As I was doing my internet investigations with my mad google skills, I discovered that these cost quite a bit of money and there are a ton of options for the actual surface of the desk, including making / getting your own desktop elsewhere. My current desk is solid wood, I quite enjoy the solid feel of real wood and the heft that comes along with it, I am not a fan of veneered press board or laminate desktops. My girlfriend frequently likes to tell me that I have expensive / fancy taste, which I guess I do, I do quite like nice good quality things. The folks on reddit seemed to have lots of suggestions about getting a butcher block counter top and using that as the top of the desk, I was strongly considering this option when it was mentioned that I could make my own desk top. I guess a butchers block will have to wait for another project.
And that really got the ball rolling on this idea. I do quite enjoy physical projects and making things, which I talked about in a previous Network Wiring post, and will undoubtedly talk about some more in future posts. And conveniently, my sister Kristen, an avid lover of power tools, had recently started as a carpenter’s apprentice and has a whole bunch of the necessary tools to make an exciting desk. After looking at a lot of gorgeous desks on r/woodworking, I decided that this was my plan.
On June 15th, 2021 I ordered the V2 commercial desk base from Uplift Desk, along with a couple of monitor arms. I went with their desks because they are highly reviewed. I did not order a desktop from them; this journey is about creating my own.
After checking out the websites of several lumber yards - again, it is covid, not the easiest time to go check them out in person - I ended up getting the wood from Peacock Lumber in Oshawa, they have a fantastic selection of dressed and rough cut lumber. Since I was aiming for a finished thickness of around 1 1/2” I had to use rough cut since their dressed lumber was 3/4” thick; that was fine for me because we had the tools to finish it. We went to the lumber yard and took a look at the Walnut, Mahogany, and the red oak, my top three choices for wood to use for the desk. Yes, I am aware that I went right for the top three most expensive woods that they had; Maria is right, I do have fancy taste. A piece of advice for anyone else aiming to build a desk, don’t go right for the expensive wood; take a look at the other options first, everything else will seem less attractive after laying eyes on the nice stuff.
We picked out 4 10’ boards that ranged from 5” to 14” wide that we thought looked the best and would make a gorgeous desk top.
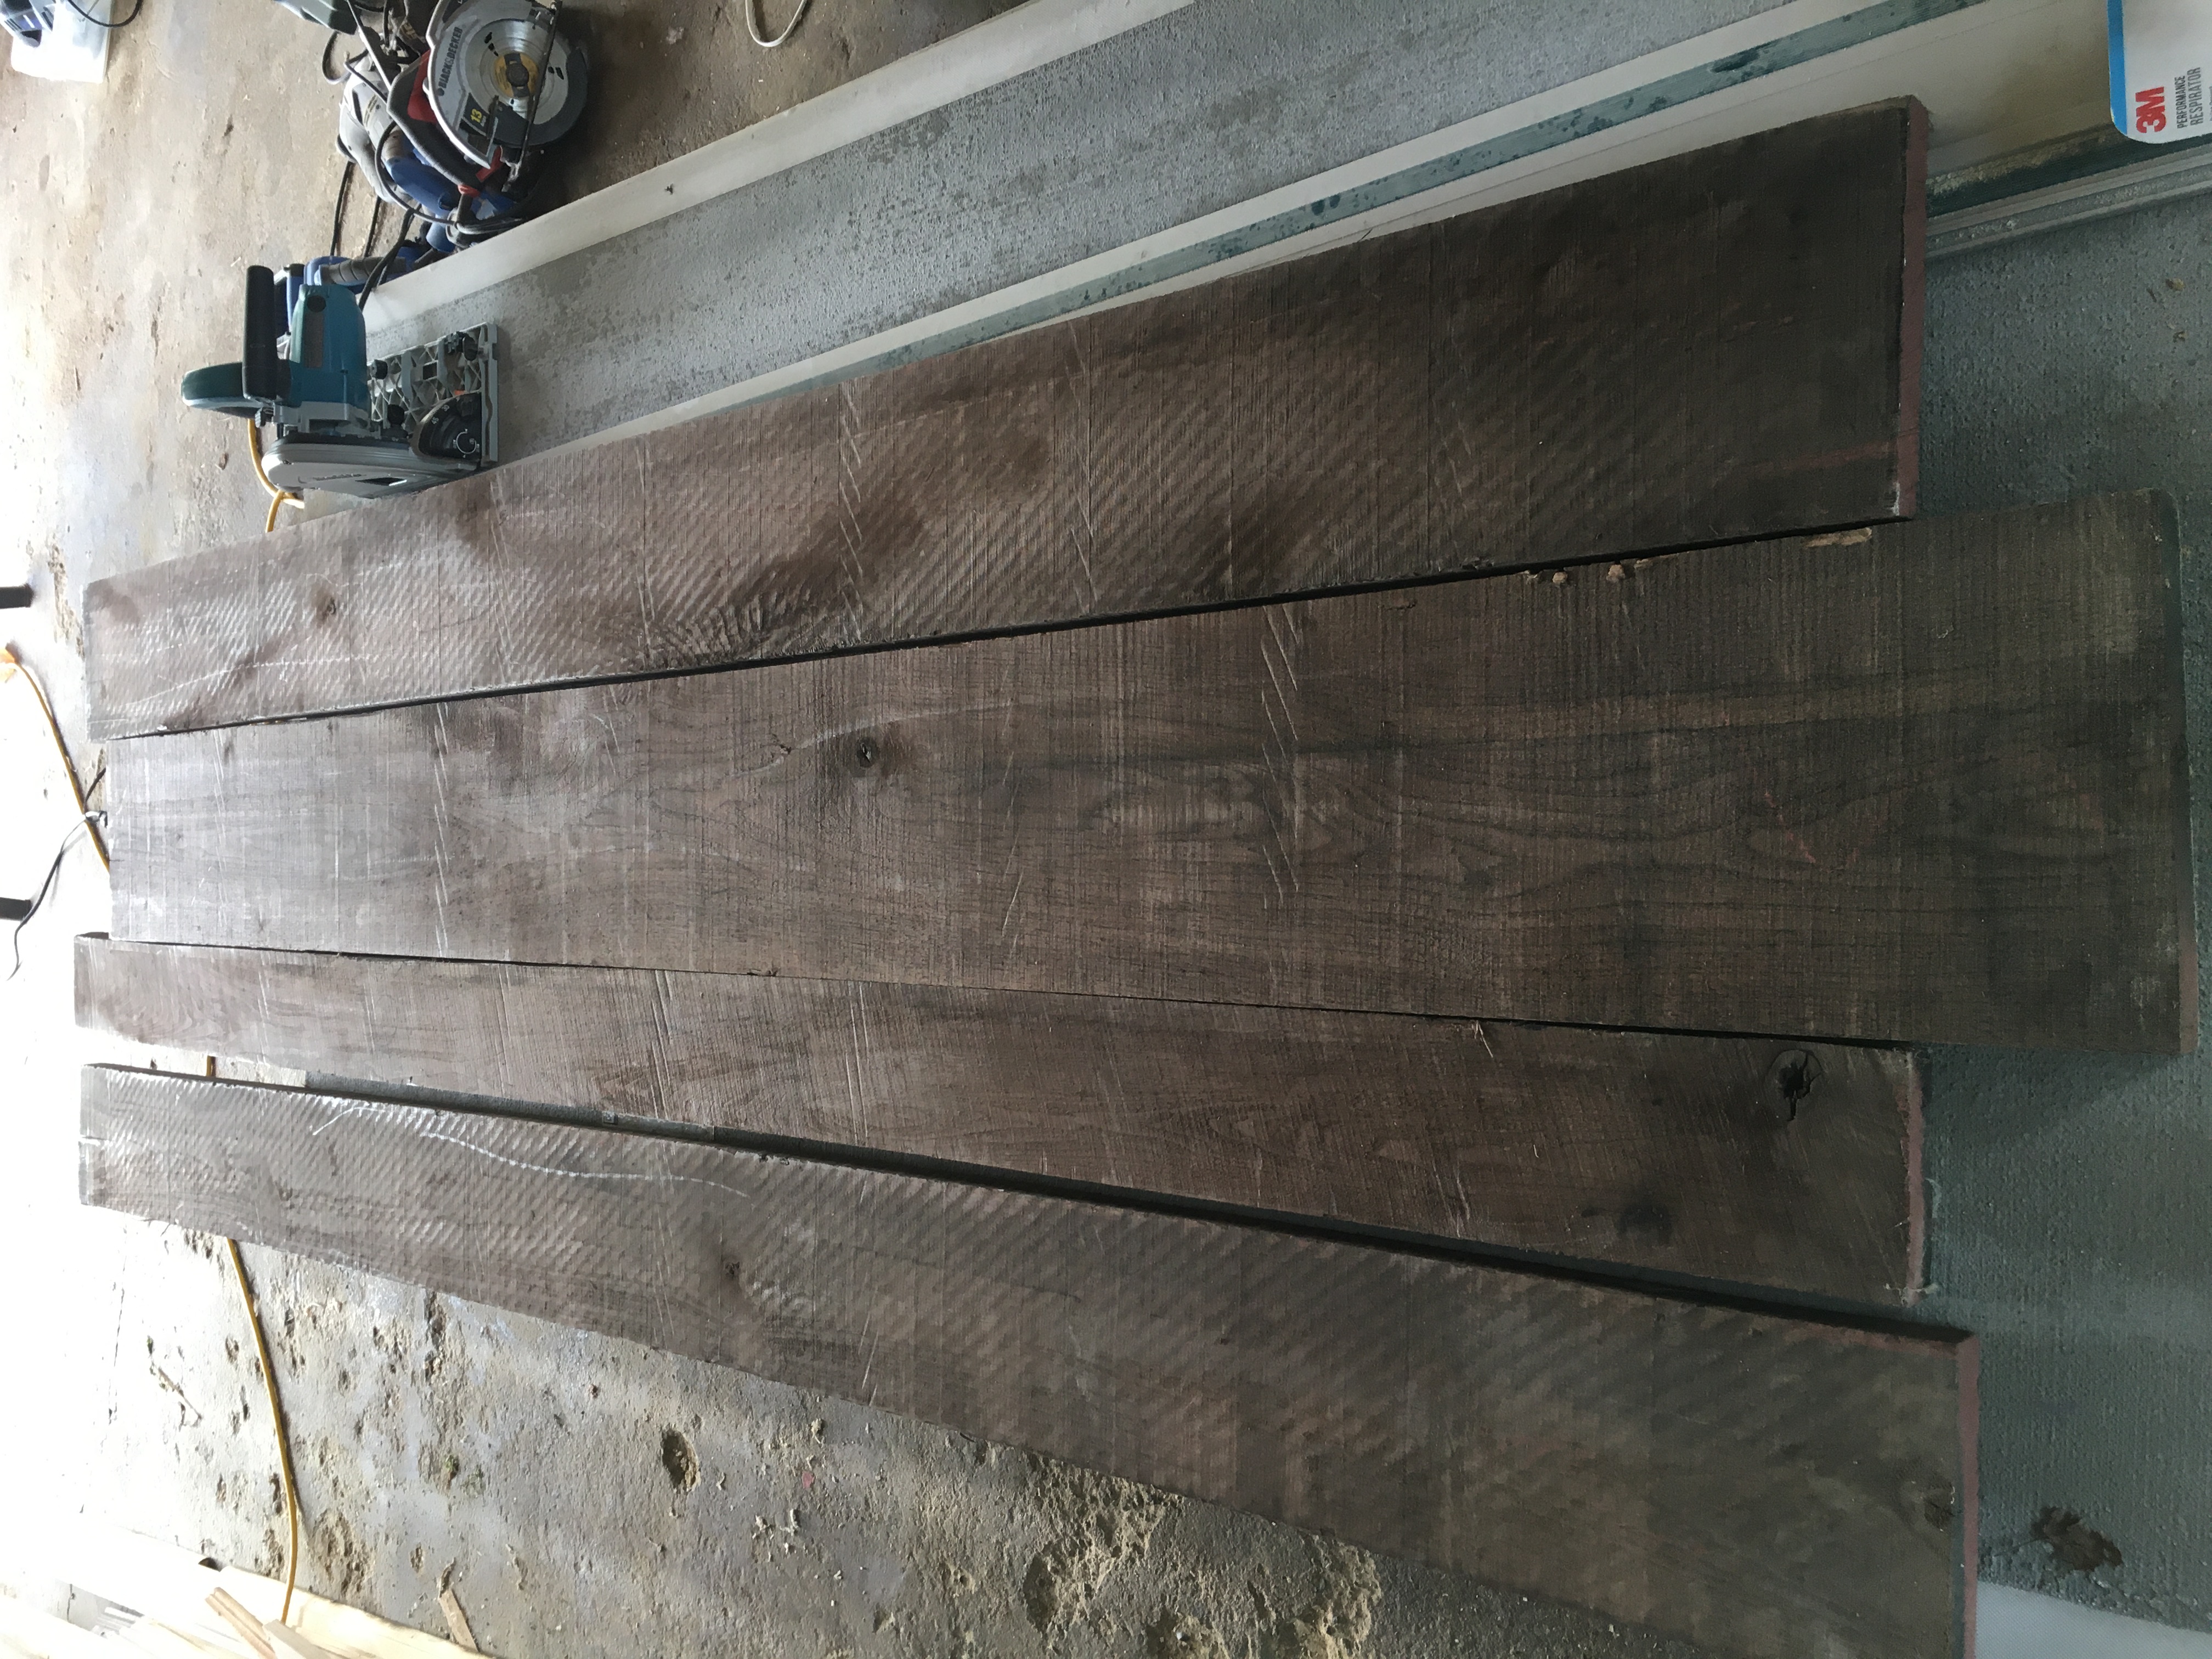
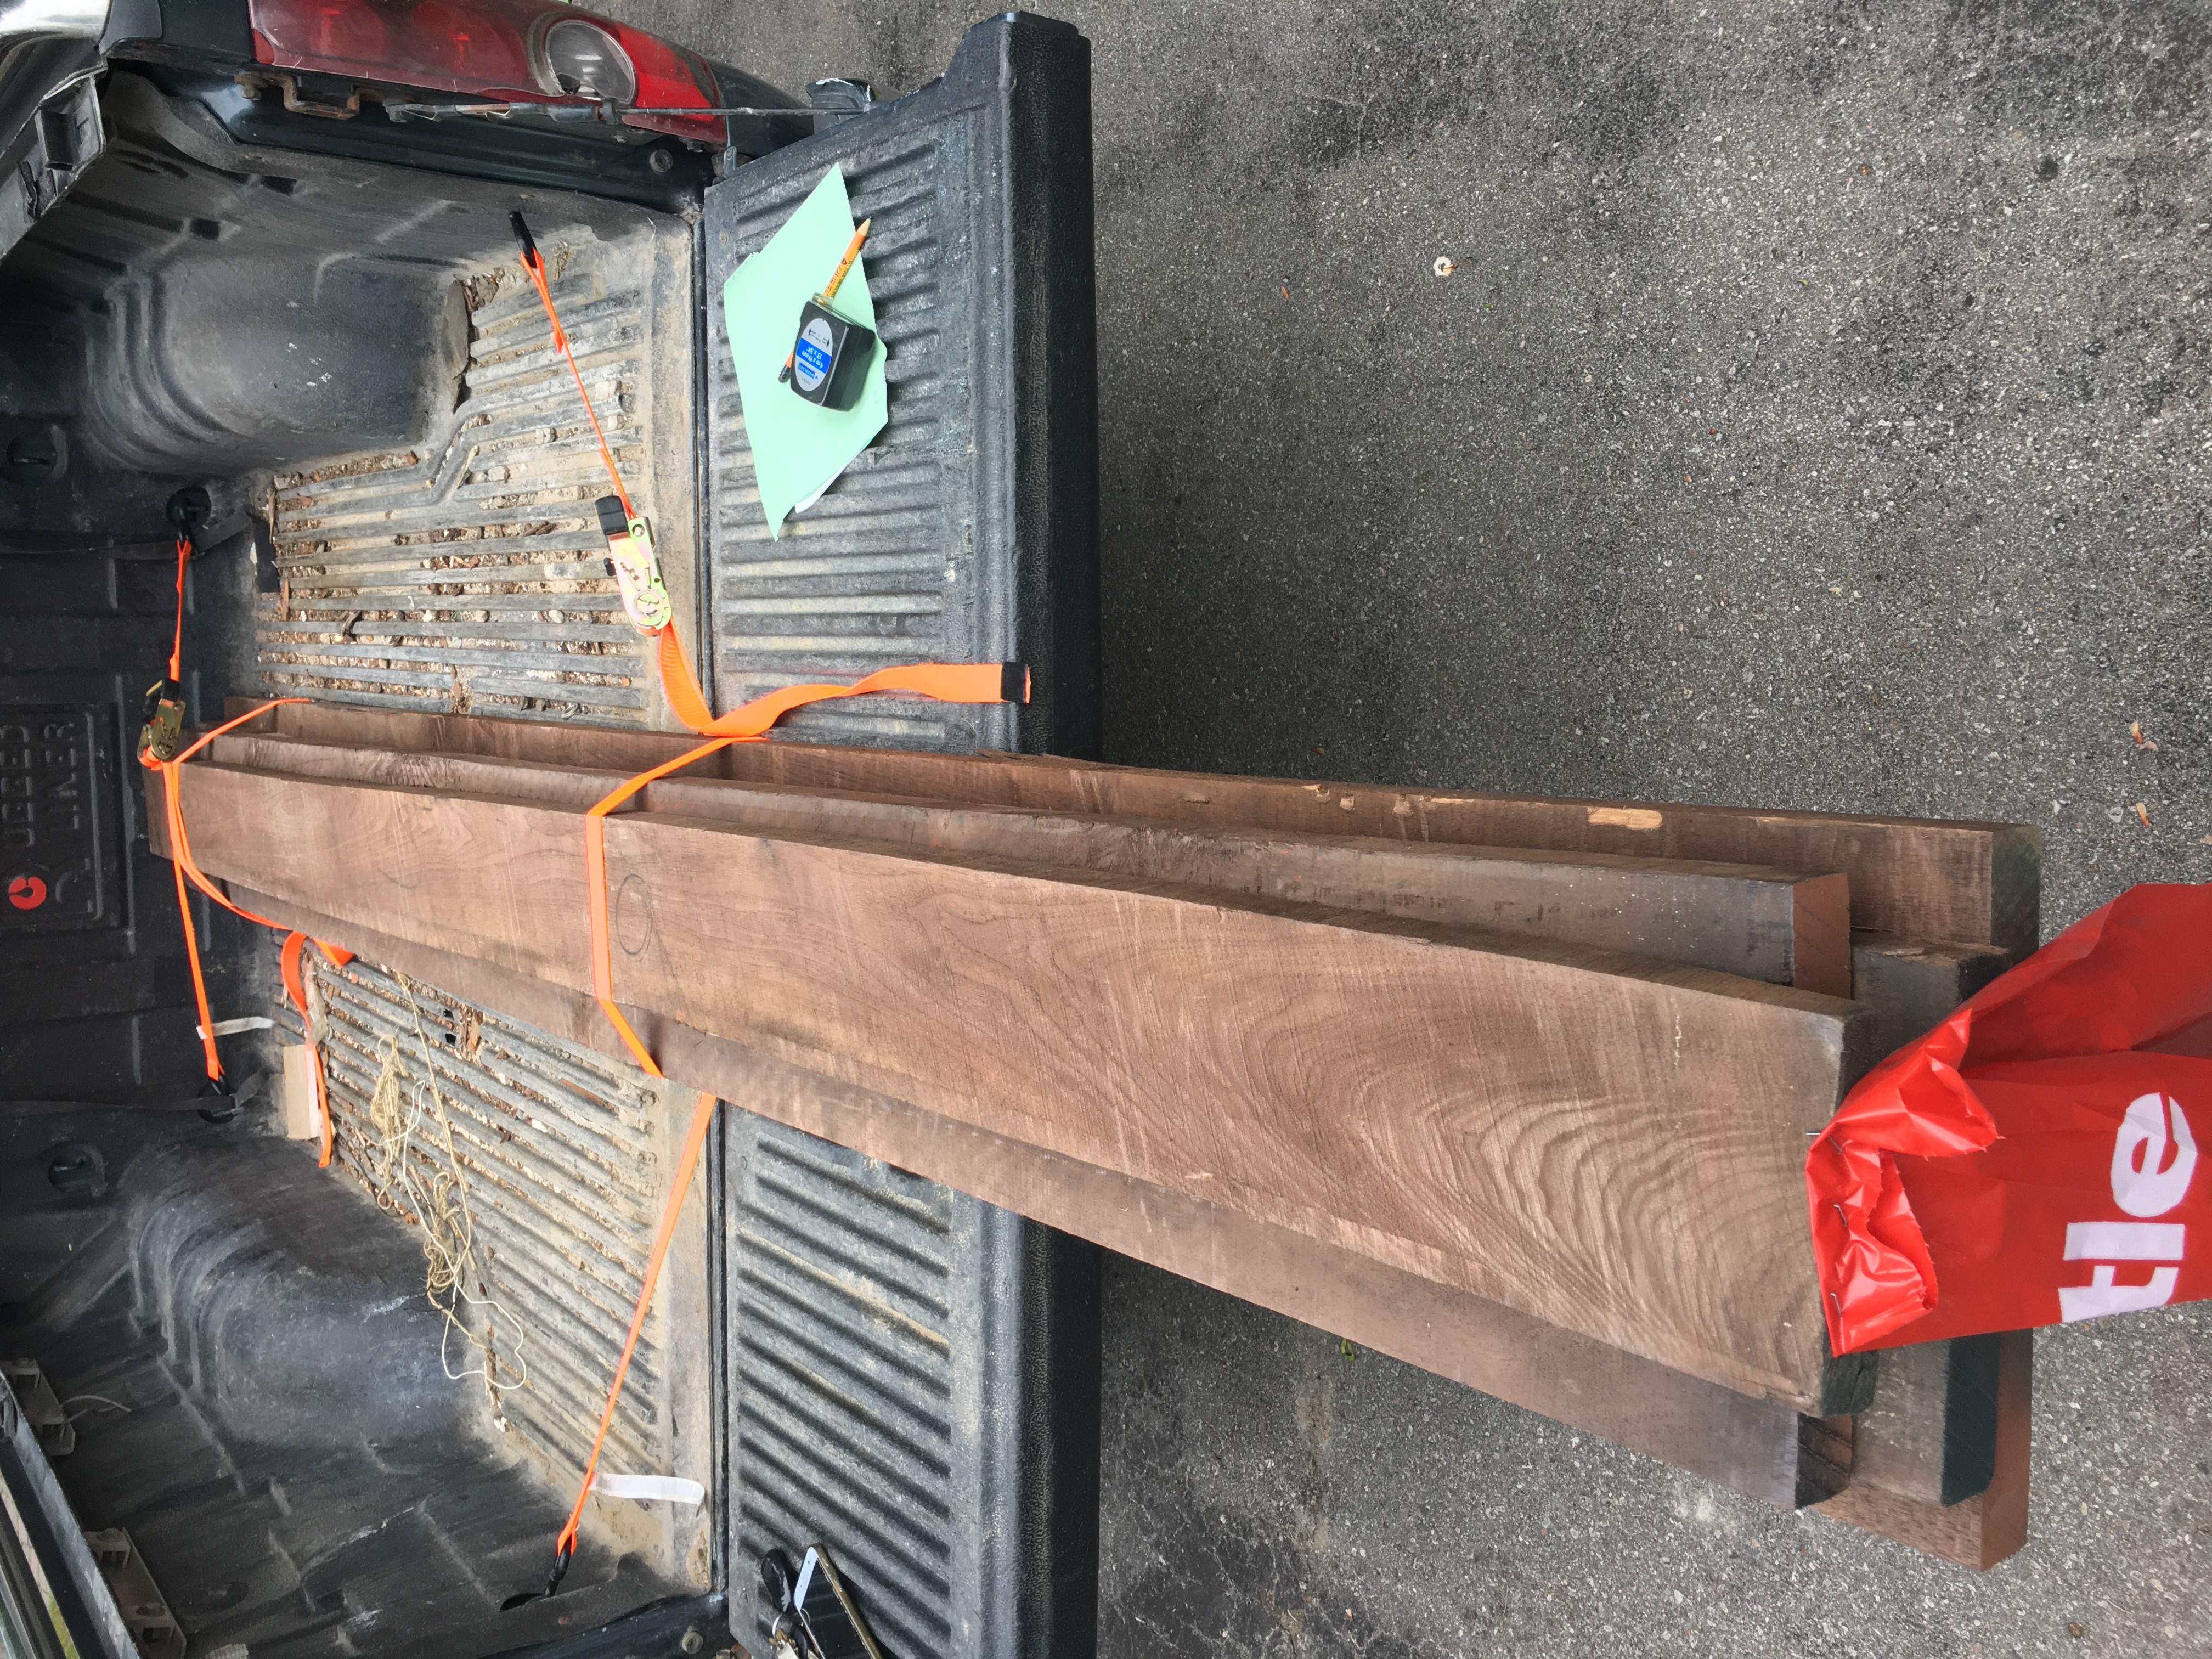
Although this wood looked fantastic, it was not quite ready to be made into a desk. Several steps had to happen first.
- The cracked edges need to be removed, we don’t want to use a portion with a long crack
- Each piece needs to be planed to have a flat top surface
- The edges need to be cut straight so there is a nice smooth edge to join without gaps
- Each of the pieces needs to be joined together so it will stay as one solid piece
- Sanding, lots and lots and lots of sanding so that it is nice and smooth
- The block needs to be cut to size and the corners squared
- Finish the surface with an oil to seal the wood and provide a nice protective finish
- Assembly
This is a lot of steps that have to be completed before the desk is ready to be used as an actual desk. Good thing there is a ton of time before the base of the desk arrives. This project is being spread our over several months because Kristen and I are both quite busy, and it’s not close enough to be an after work project, which left only free weekends to work on the project.
Safety is important, I’m rather attached to all of my fingers and I would like to keep them. I also enjoy music, being able to see, and breathing, so I am wearing all my safety gear so that I can keep enjoying all those things.

Step 1 - Cutting off the ends
The goal for this desk is to be somewhere around 7 feet long.
The lumber yard did not have pieces that were that length, the closest was 10’.
This extra was fine since all of the boards had some cracks near the ends which had to be cut off anyway.
That cutoff will be used for a future project, perhaps a cutting board.
The first step is to remove those edges to make working with the boards a little more manageable.
This reduces the the amount of planing and sanding that needs to be done.
We did not cut the pieces down to their final size at this stage in case there of issues with the following steps that result in more cut off being needed.
Its better to have some extra than not have enough.
We cut off the portions that had the cracks, leaving about 8 feet of usable wood.
This step was nice and easy, but at the same time it was the toughest step to make those first cuts (emotionally, the wood is very nice and also very expensive, and what if I screw up? Very scary).
Step 2 - Planing the boards
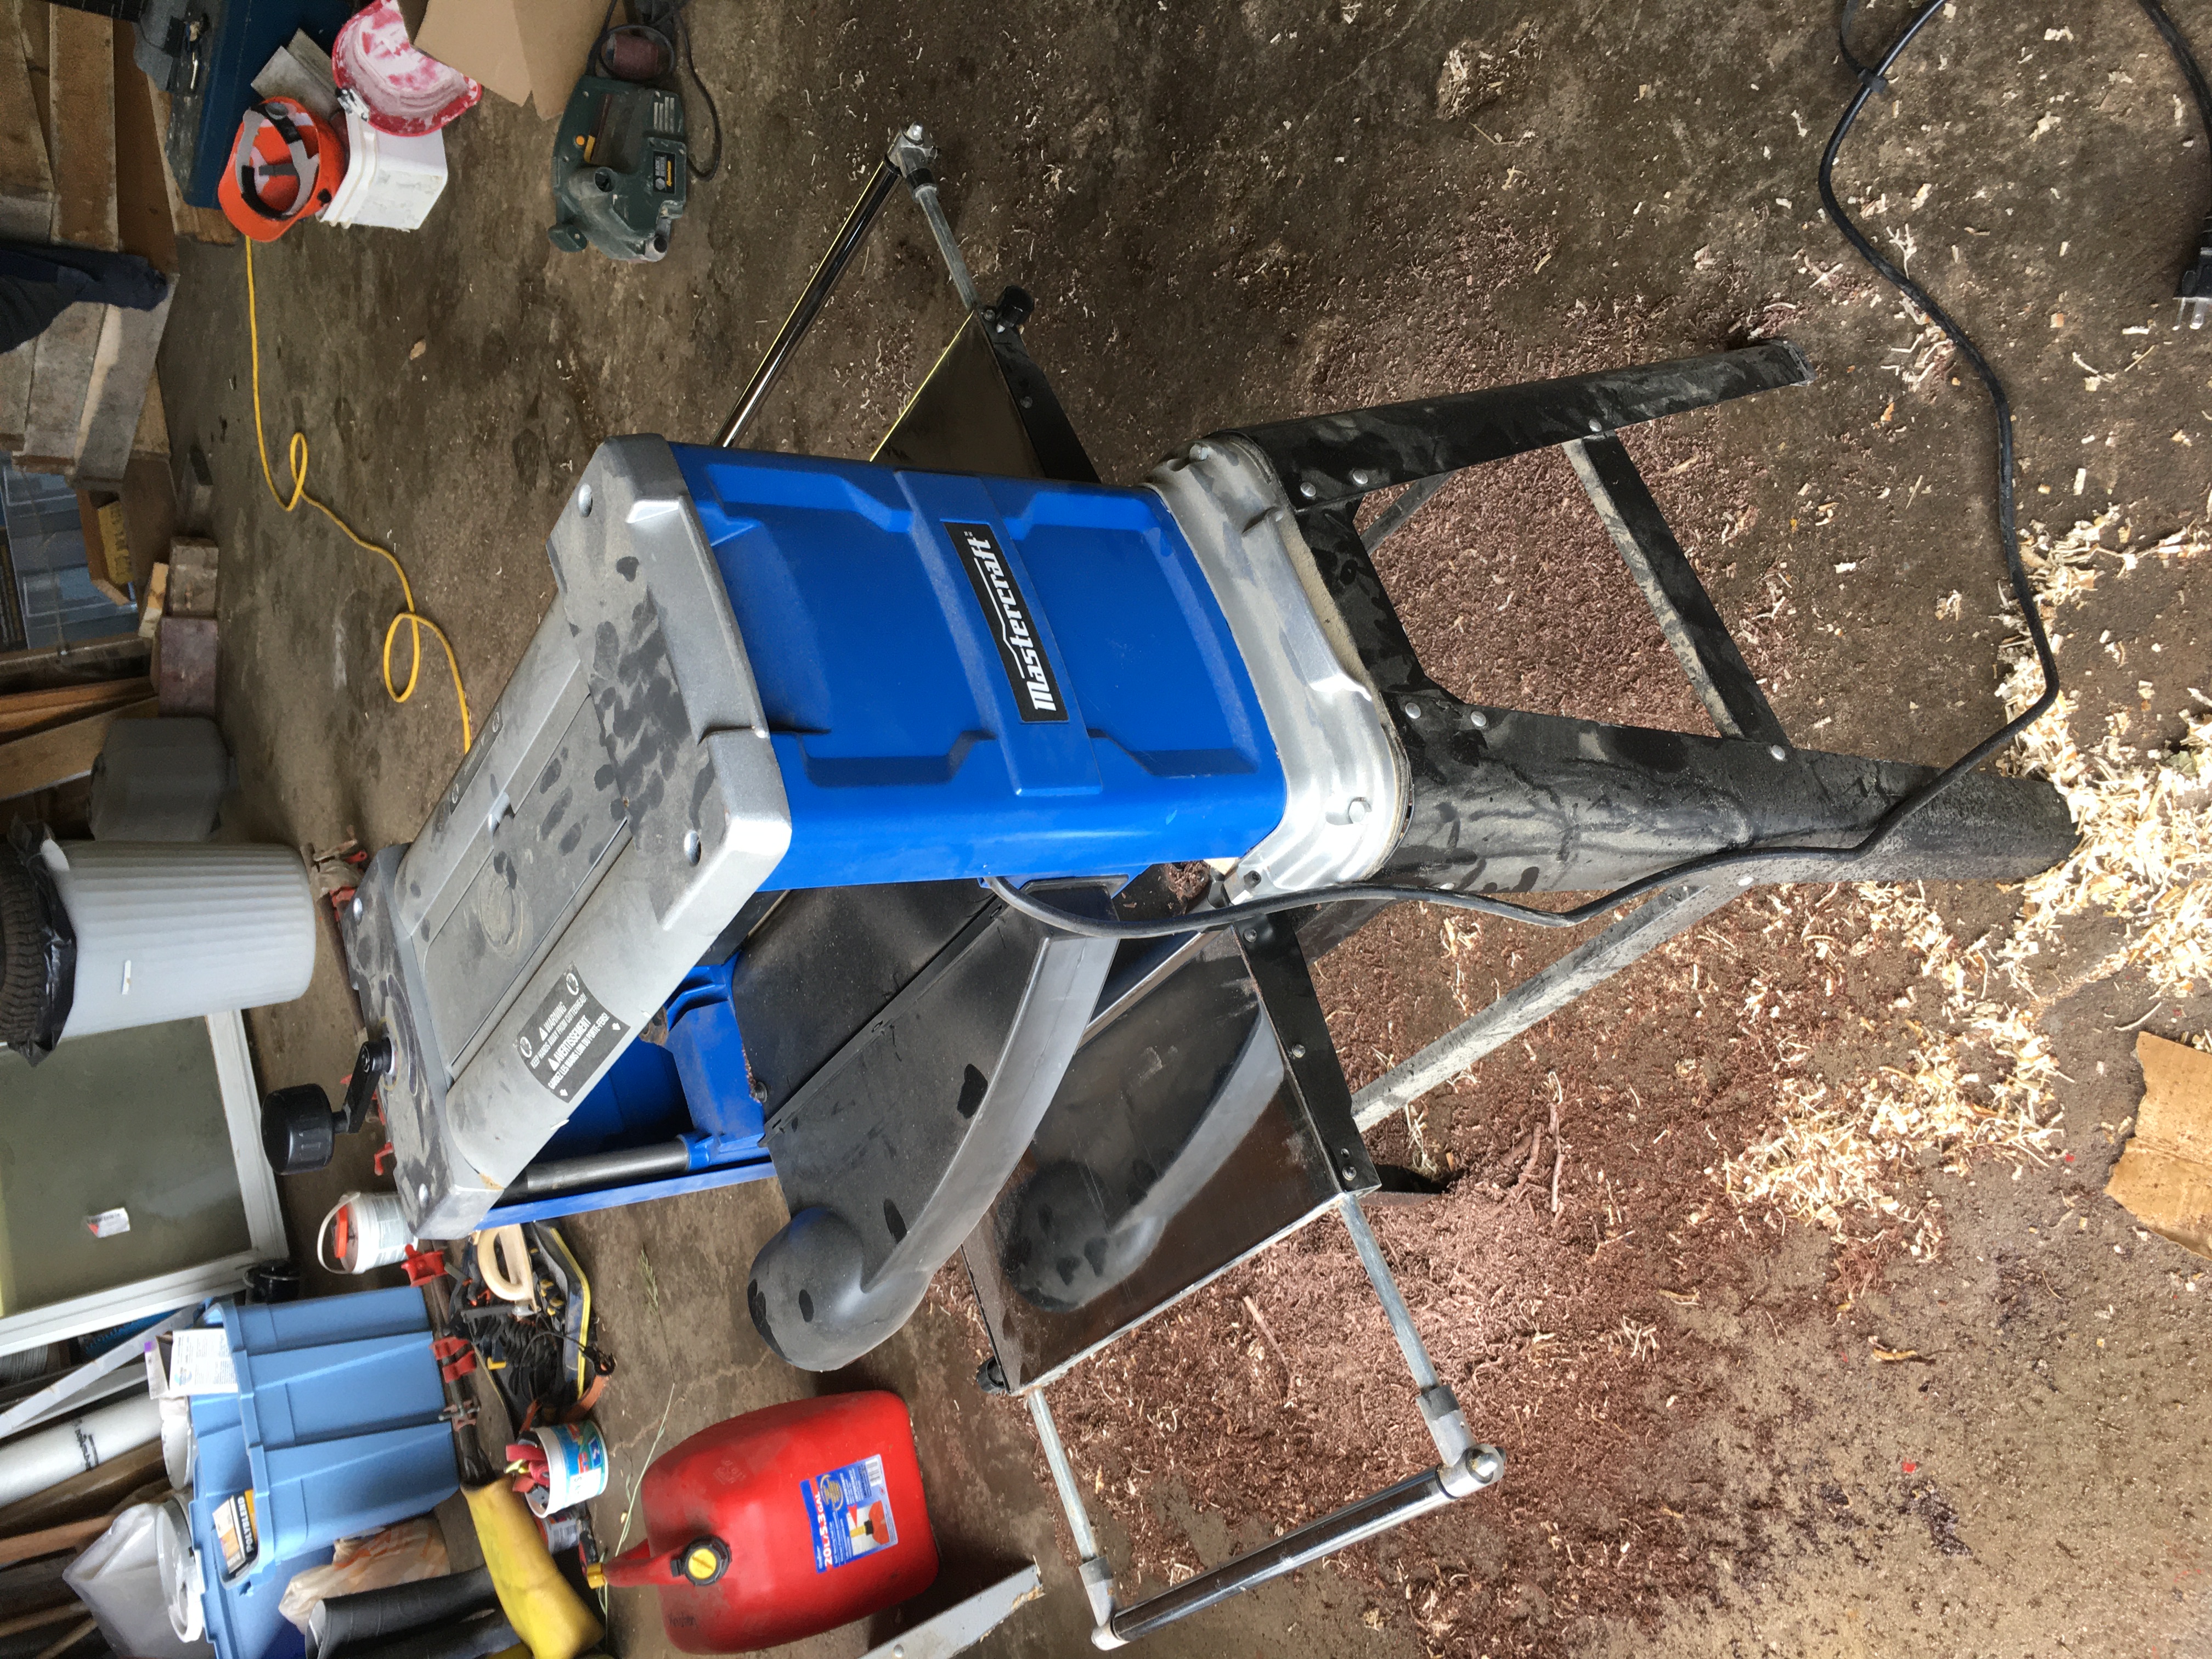
Since we got rough cut lumber we need to make the surfaces nice and smooth so that the desk is flat and to remove the marks left fom milling the wood. For that we are going to use the planer. A planer is a blade that will remove a very very thin layer of wood while pressing the piece against a flat metal surface to make the piece of wood flat in case it has a curve or some parts that are higher or lower than others.
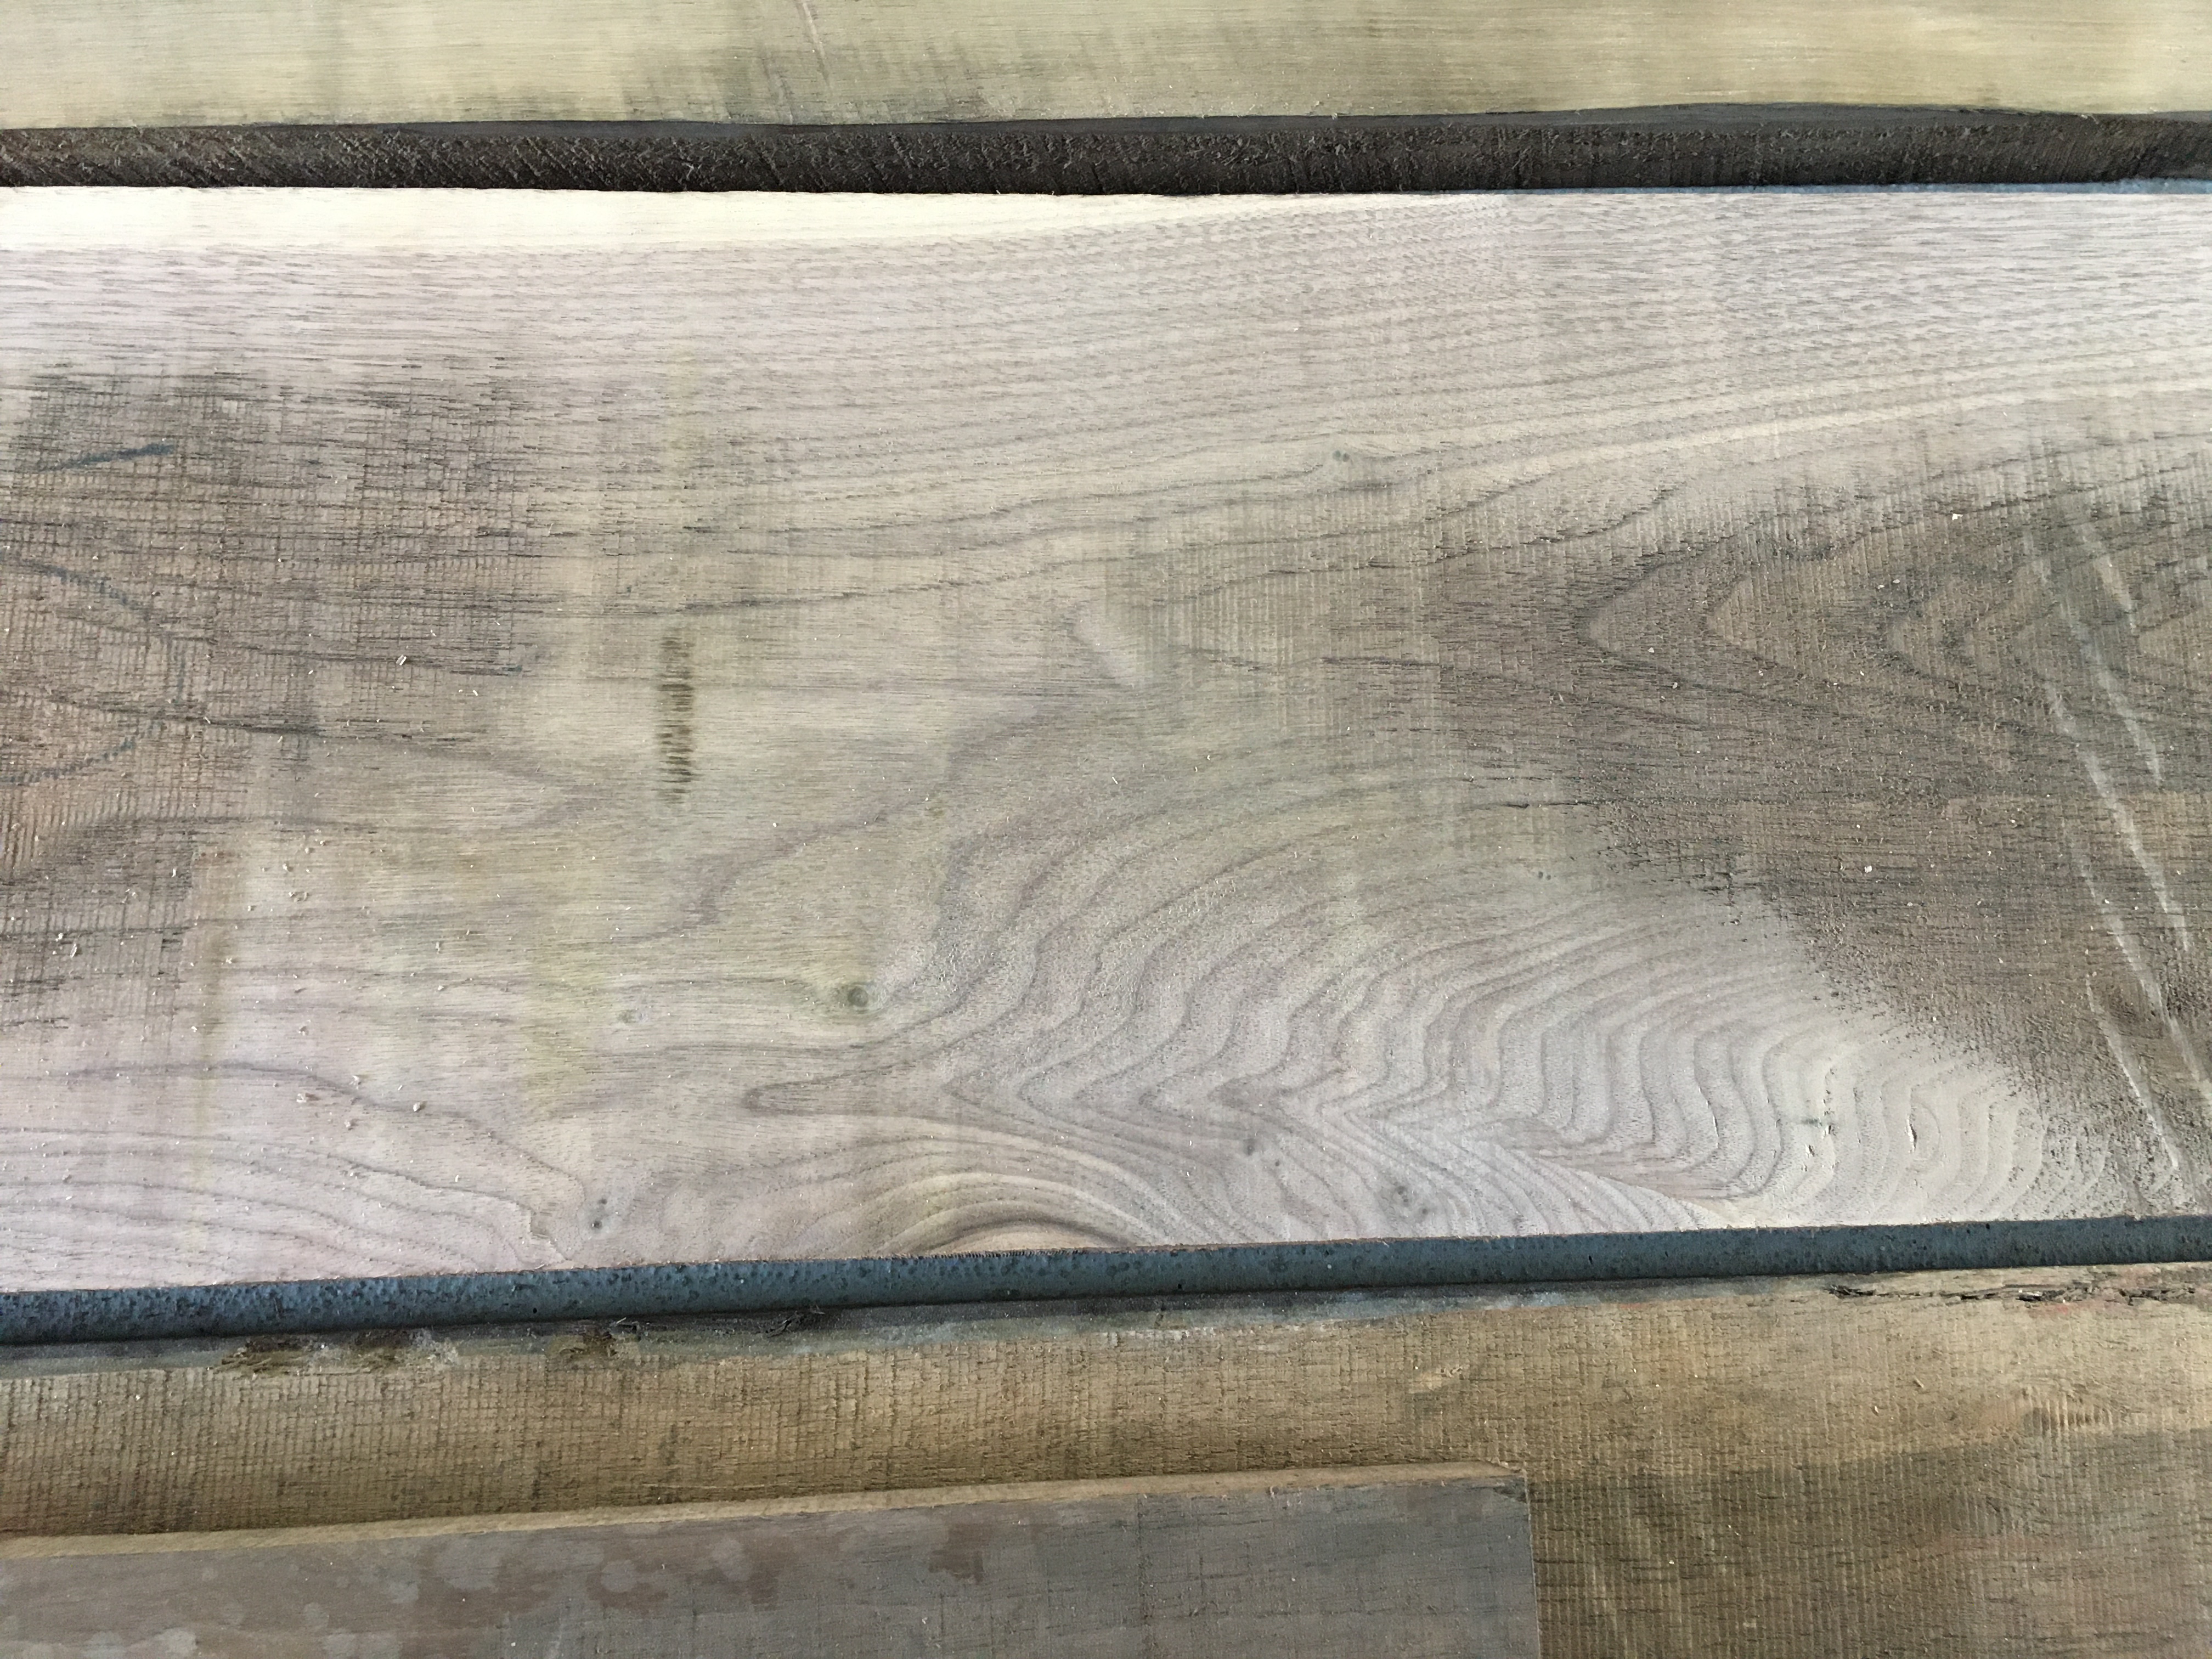
The image below shows one of the pieces that was partially planed, the lighter sections is where the planer has removed several layers of wood, and the darker regions are ones that are lower and have not yet had any of the surface wood removed.
A planer is not the easiest tool to use, as I learned the hard way. Especially when you have a nearly 8’ by 1’ board that you are trying to shove through, walnut weights around 38 lbs/ft3, meaning that one board is around 40lbs, not the easiest thing to put through the planer without tipping it over. Some mistakes were definitely made while planing the wood, the image below shows a rather large divot that was gouged out when the board was wiggled a little bit when going into or taking it out of the planer.
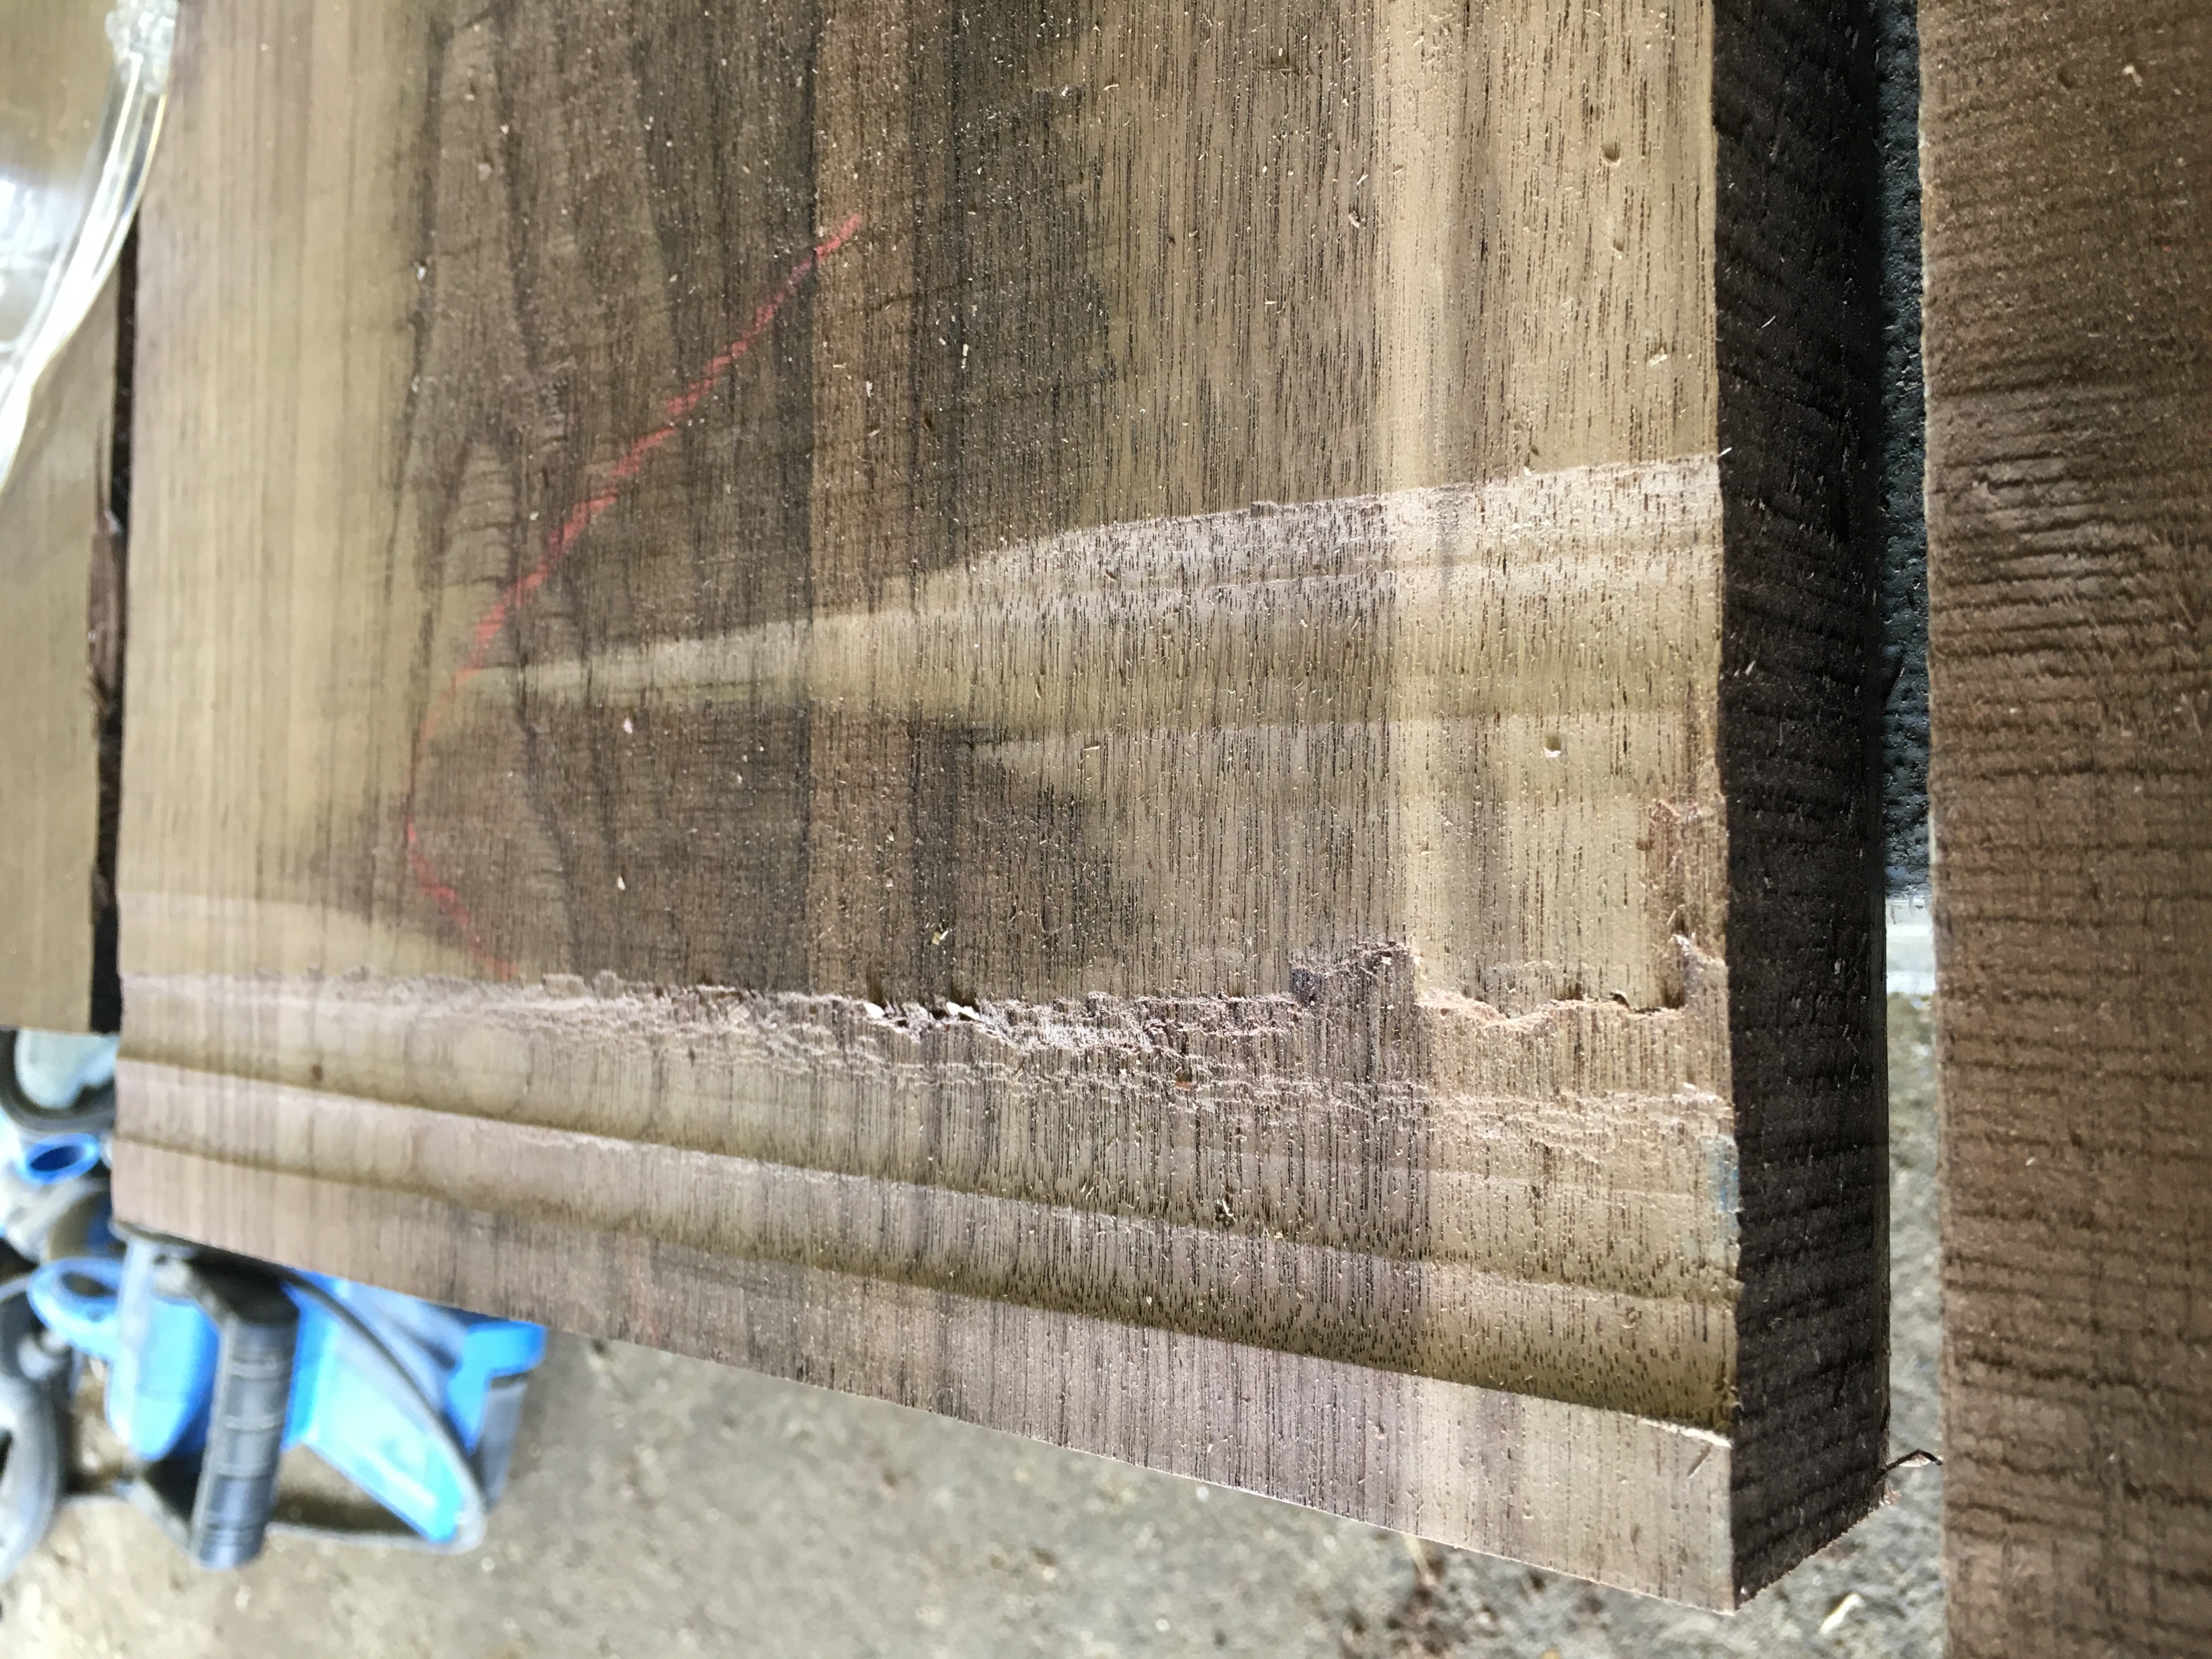
It was pretty sad when that happened, but it was near the edge so it was alright, good thing we foresaw issues like this and left some excess at the ends so it will not effect the final working area of the desk.
Step 3 - Cut the edges
The next step once each of the boards were planed to 1 1/2” thick was to make sure the sides were flat and straight so that they could be seamed together without separating or having gaps. This is an important step, having a gap between the boards in a desk would be problematic, as my friend Keefer can attest to. Having a straight edge is extremely important, and to achieve this some fancy tools are needed. Normally to make a straight edge you can use a table saw with a guide or a skill saw with a straight edge, that that works with shorter cuts where small deviations are less noticeable. To seam ~8 foot edges that is not straight enough, for that we used a track / plunge saw. A track saw is essentially a fancy skill saw that is on a metal track that the saw will slide on to make a super straight line. That saw was super nice to use, it made a smoother edge than the planer made! It was very very very nice! Unfortunately I don’t have any pictures of the cut that was made or of the tool, although it is in the top corner of one of the earlier pictures that showed all of the wood.
Step 4 - Seaming the boards together
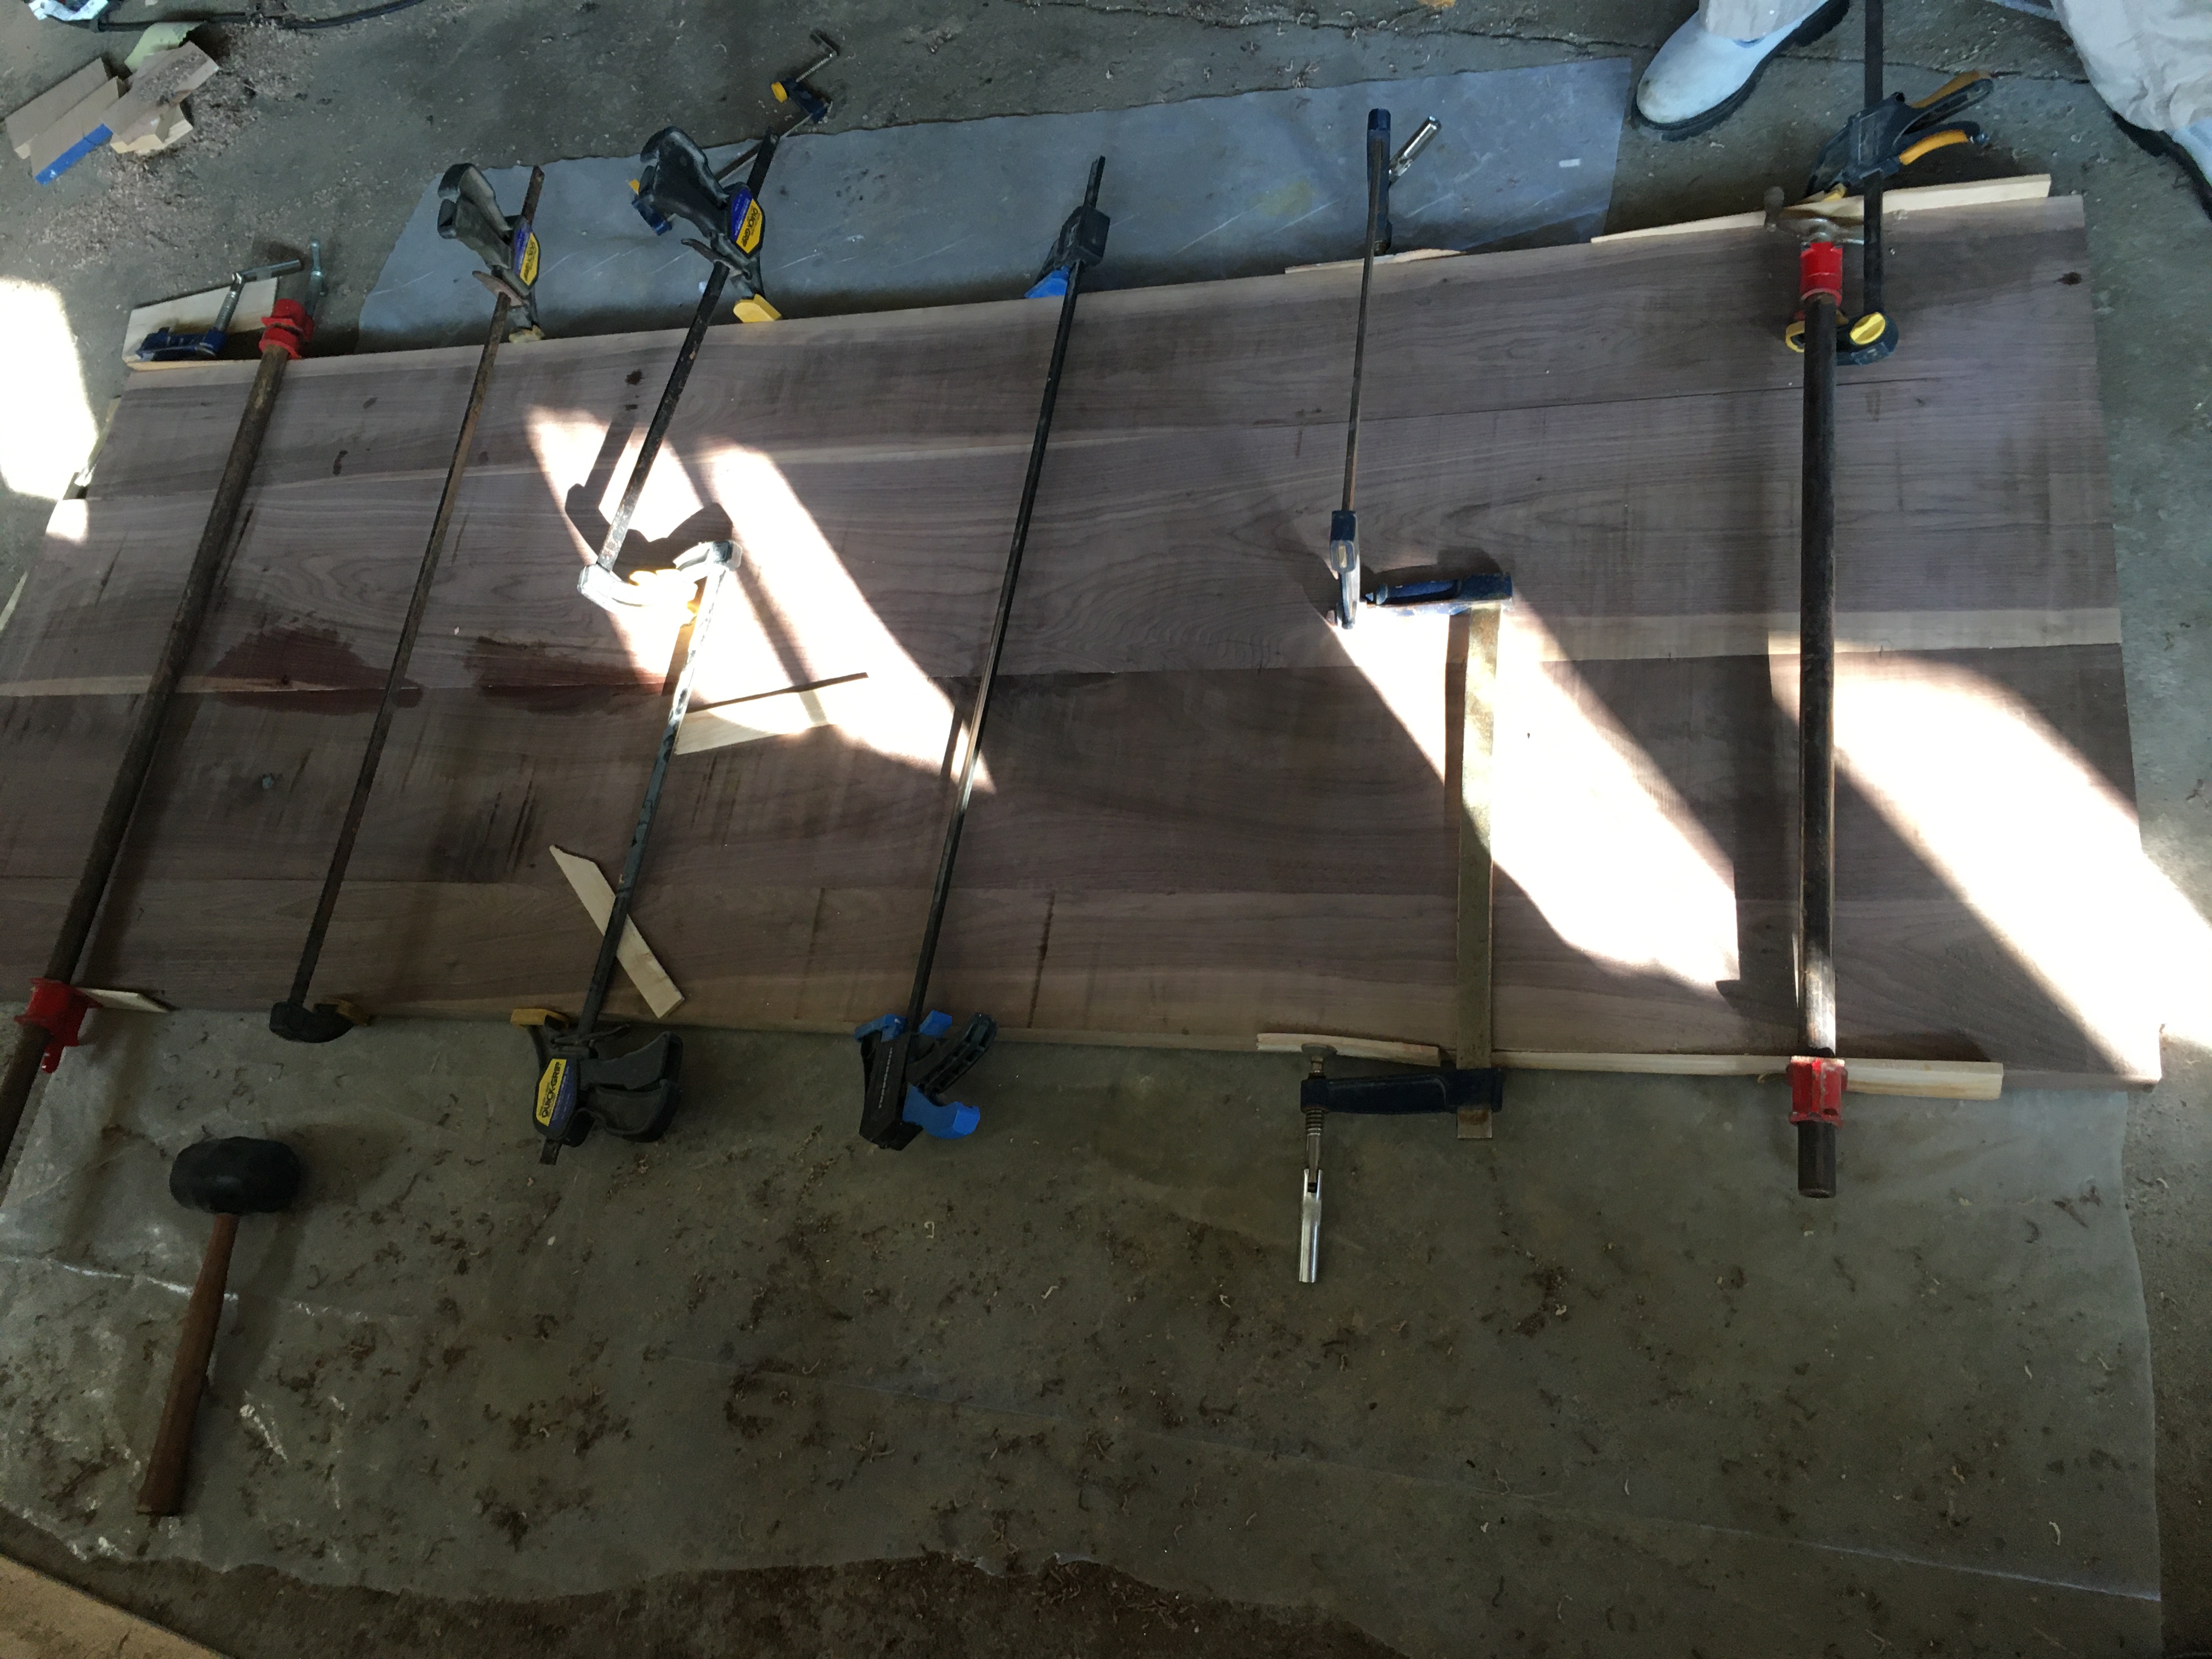
Now that the edges are nice and straight they are ready to be seamed together so that the desk is not just a pile of wooden boards. I do want my things to stay on the desk, and not fall through the cracks. To do this we used wood glue and a biscuit jointer. The biscuit jointer cuts a circular cutout in the two edges, then a oval dowel aptly named a ‘biscuit’ gets put in the slot. This helps the two pieces stick together once the glue is added. When glue is put into the cutout, the biscuit will expand and get ‘stuck’ in the gap, helping the two pieces of wood stay together. Glue is also placed along the entire seam and then the two pieces are clamped together for 24 hours until the glue dries.
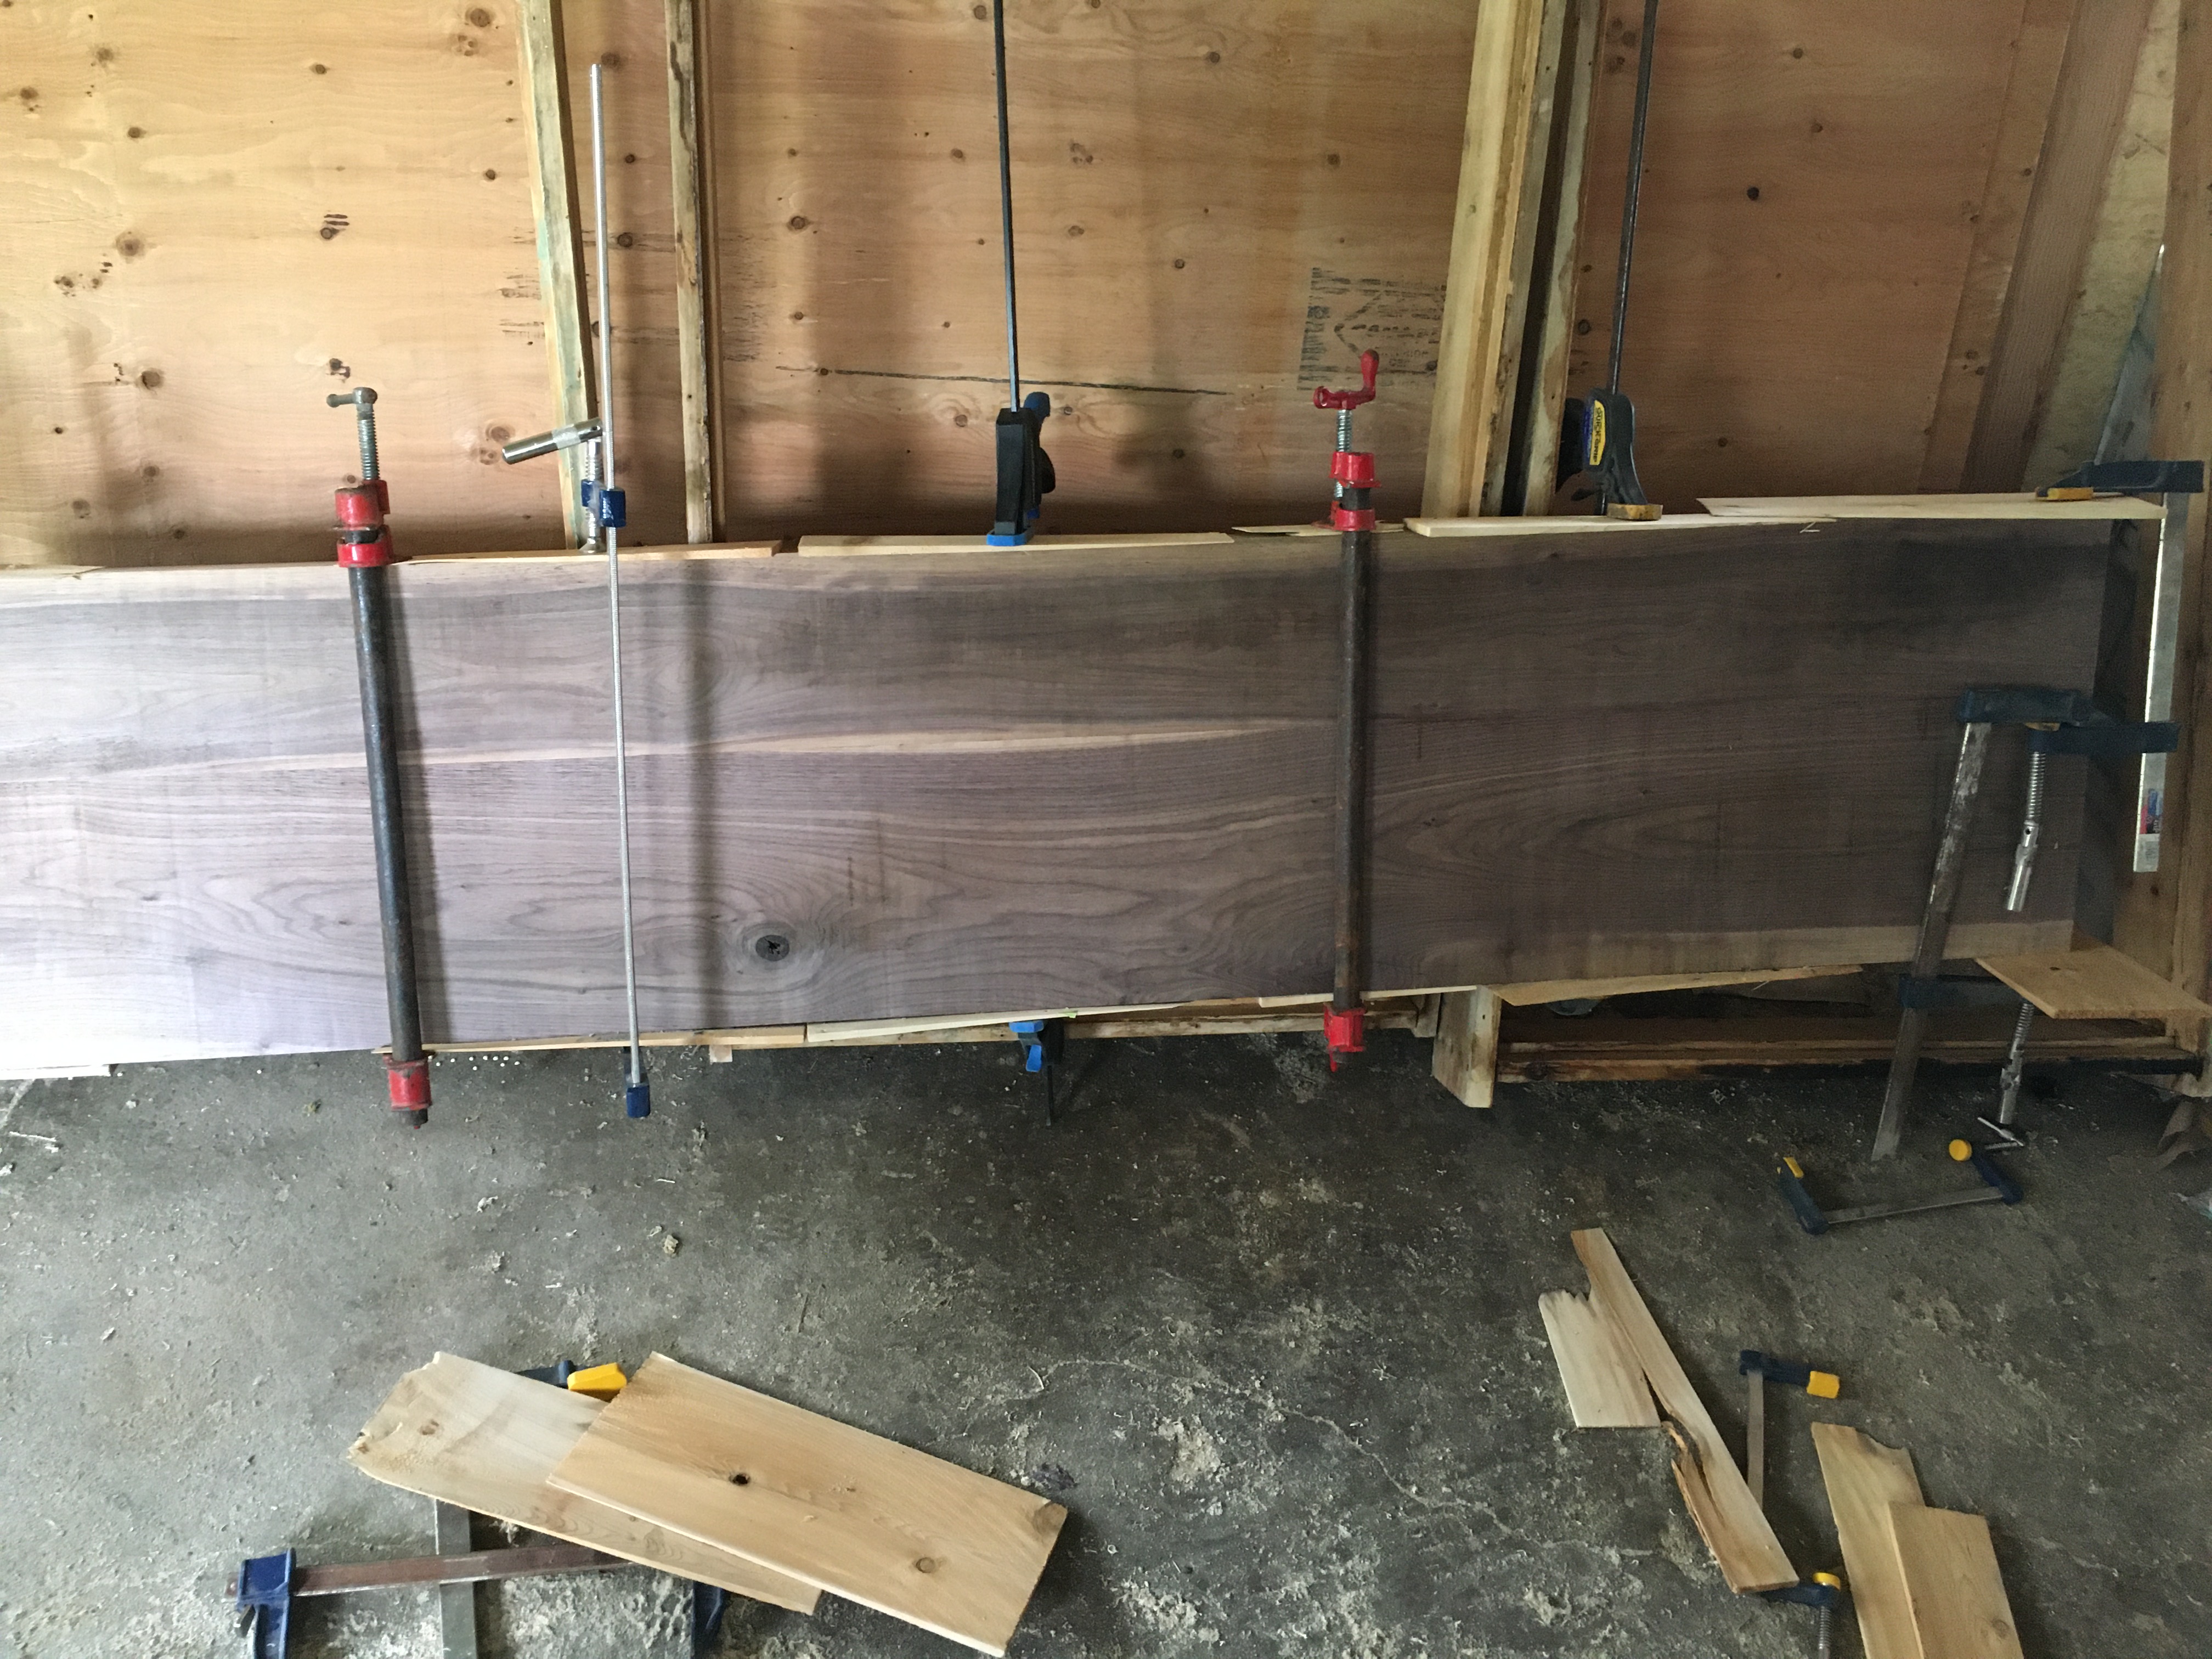
Step 5 - Sanding, lots and lots of sanding
This step is fairly self explanatory; there was a boat load of sanding. Although the planer did make the wood much smother than the wood was originally, it was still not smooth enough, and there was still a slight lip where some of the boards were seamed together (oops). We started with a hand belt sander at 80 grit, then worked up to 220 grit using an orbital sander. This took over a full day of sanding, and lots of sandpaper was used. Hopefully this is smooth enough for the oil to apply evenly and to come out nicely (at the time of writing the final steps have not yet been completed).
Step 6 - Cut to size
Now that the desk is all sanded it is time to cut it to its final size. Instead of cutting it to a specific length, I just cut off the edge bits that were gouged during the planing stage. The final dimensions of the desk are around 6 1/2’ by 3’.
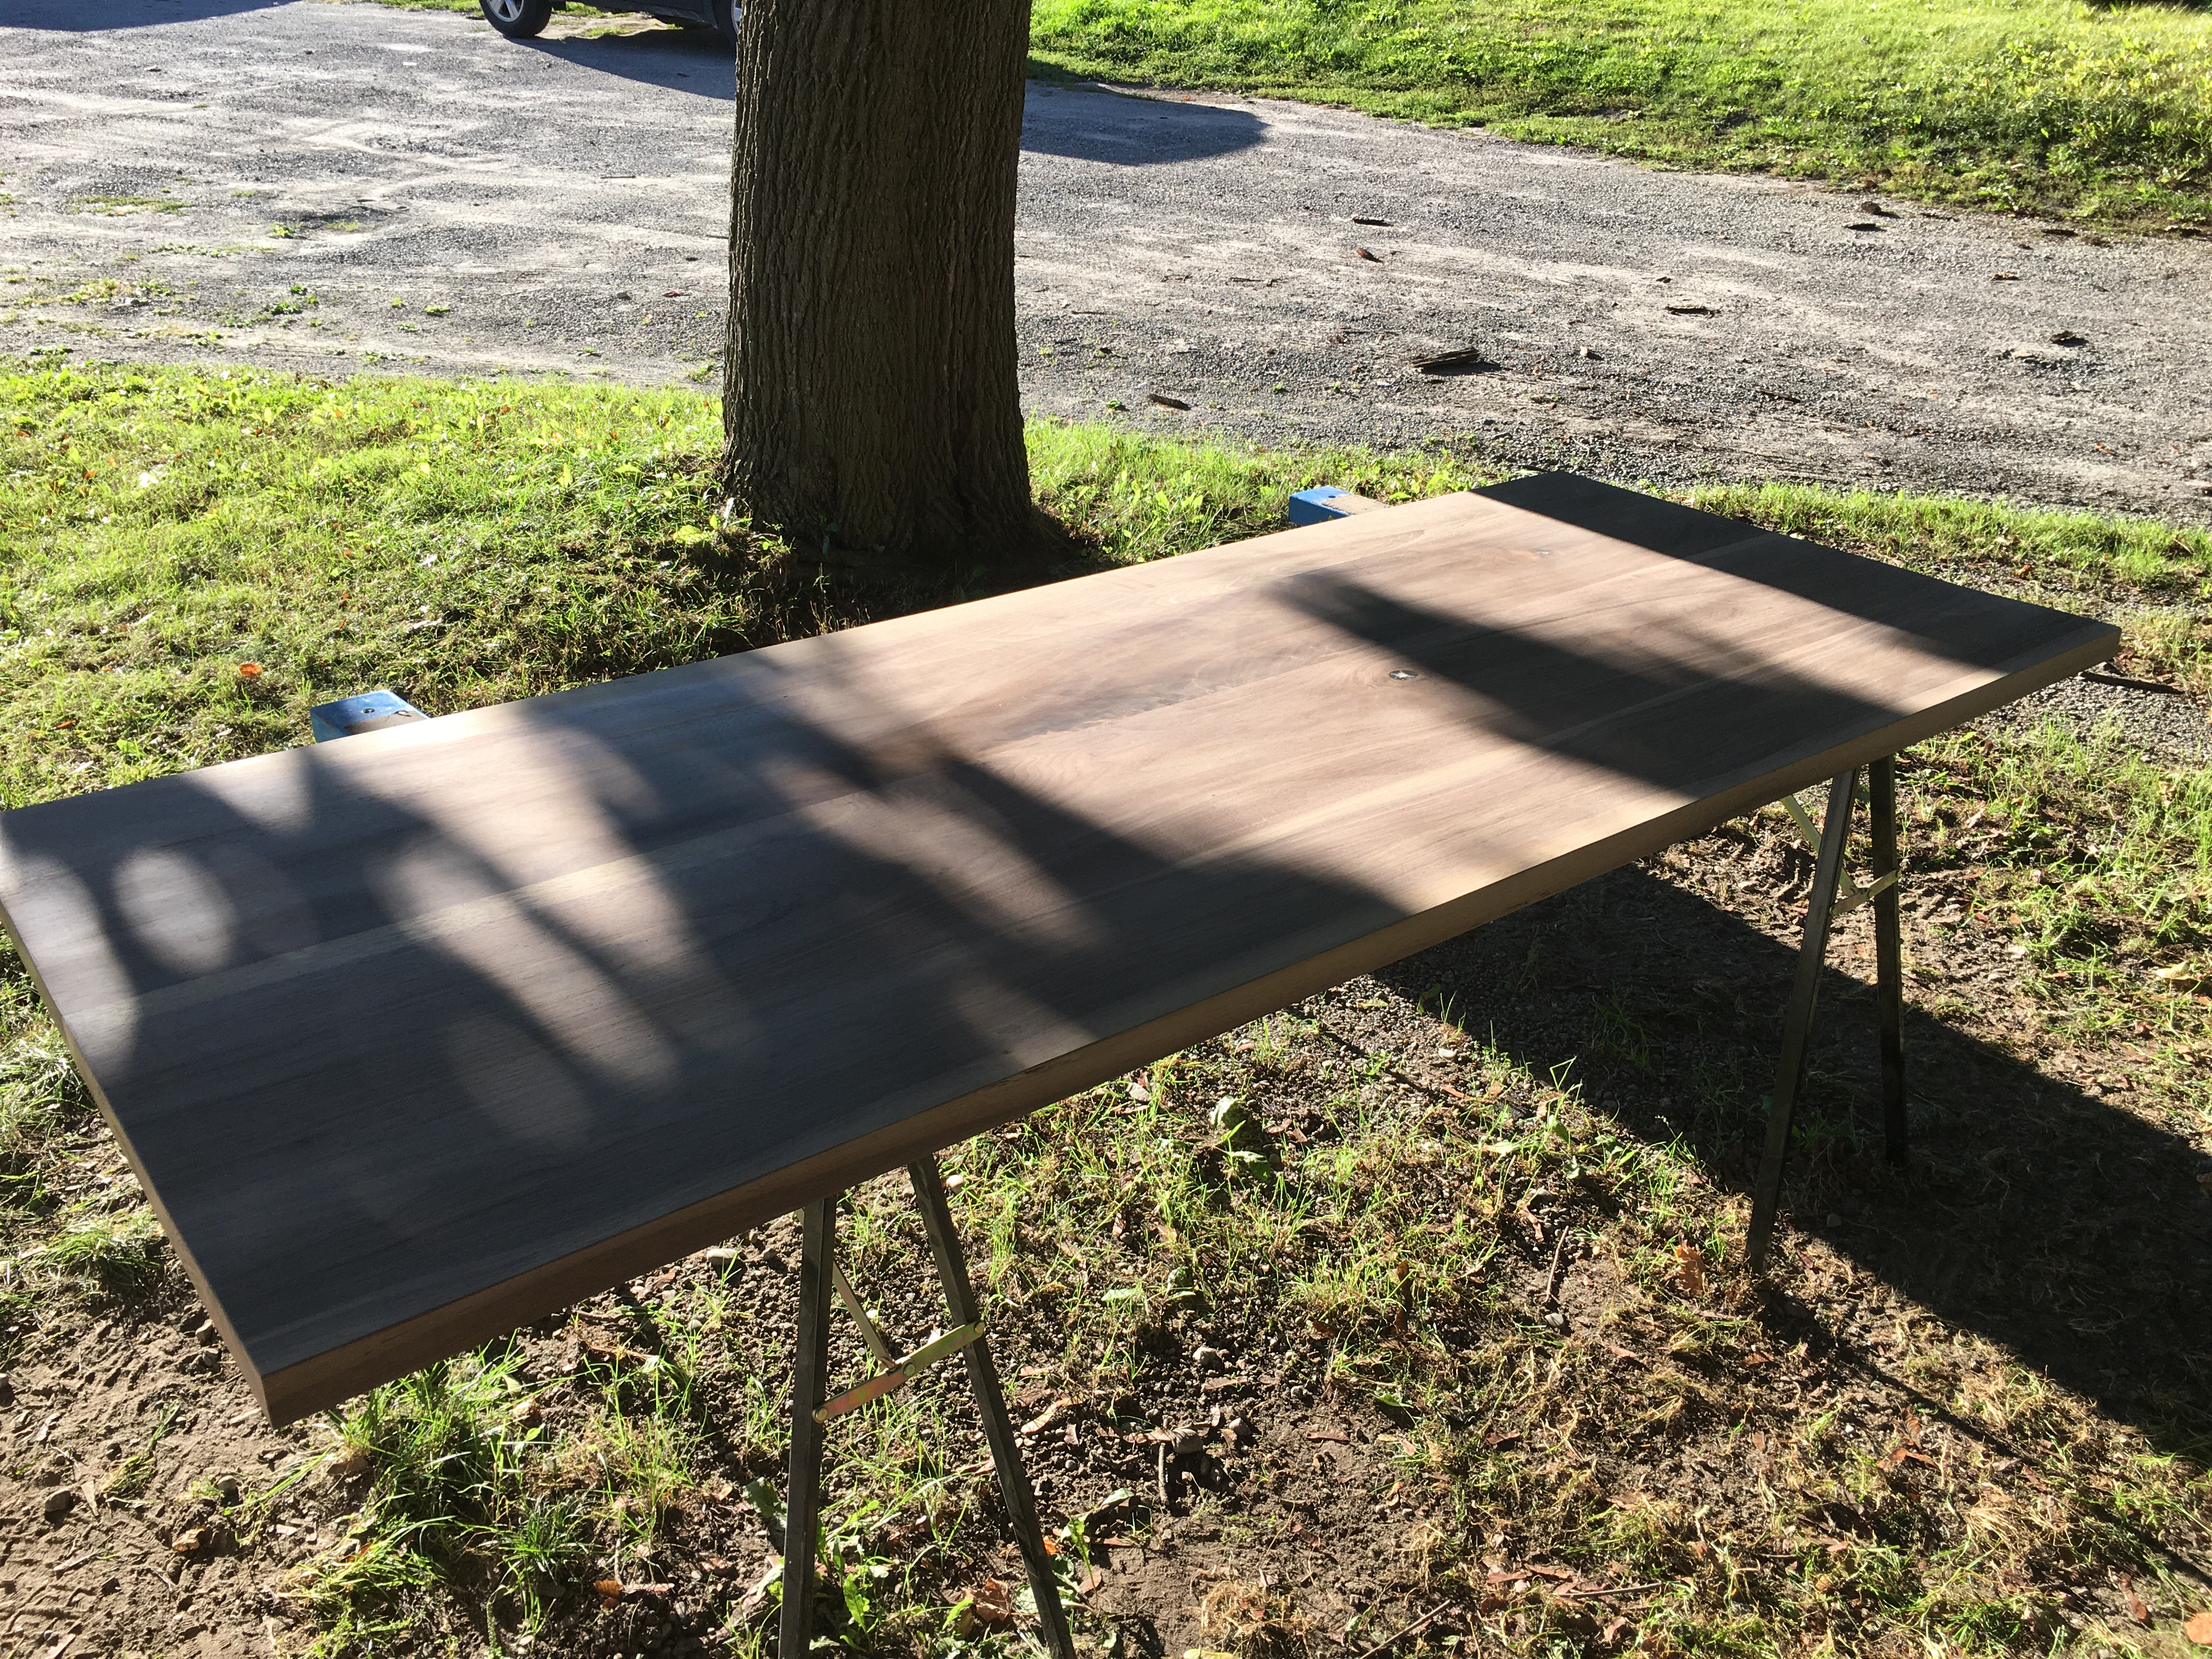
Step 7 - Oiling the surface
Once the desk was fully sanded and cut to size it is time to finish the surface of the desk. I chose Odie’s Oil to use as the finish. I love the look and feel of the walnut wood and I did not want to stain it or coat it with a polyurethane coating to give it a protective layer, but I did want it to have a protective fairly waterproof coating. I was originally looking at linseed oil to use for the finish, but I did not particularity want to have to apply a large number of coats of oil over several weeks while each coat cured before the desk can be used. Because of this Odie’s Oil was selected as the finish for this project, plus it is food safe and does not smell horrendous.
In hindsight I probably should have sanded one of the cut off pieces from the desk and used that as a test piece to make sure that the oil actually looked good and soaked into the wood well, but I did not do that. But, I did start with the bottom of the desk incase something went wrong.
The oil was applied using the manufacturers instructions, applied a thin layer with a applicator pad then let it soak for a while then rub off with a lint free cloth.
Because of how long it took to apply, I essentially applied the oil and once I finished on one side I started rubbing it off from the side I started on.
Then waited about 15 minutes and continued to wipe off any excess, then repeated that for about 2 hours until no more oil was coming out of the wood.
Maybe it could have used a little longer but it seemed to work.
This is how the bottom turned out.
![After Finishing the bottom of desktop with Odie's Oil] After Finishing the bottom of the desktop with oil](/assets/img/desk_oiled_bottom.jpg)
The bottom of the desk came out pretty well, there were some blotchy parts and some parts that are darker than others. That was largely attributed to the unevenness of sanding the bottom. I did not put ass much effort into sanding the bottom of the desk, it was left fairly rough and was just sanded enough so that you will not get splinters if you touch the bottom.
After lunch it was time to start working on the top side of the desk top. I was satisfied with how the bottom turned out and was confident that any of the blotchiness was due to the roughness of the sanding and not user error; at least I really hoped thats what it was from. The top surface went quite a bit faster, probably due to the wood being smoother, the oil applied quite a bit more evenly. I was more carful with the top surface to make sure that I got oil everywhere including between some of the sanding lines that initially looked like they were missing oil.
After several hours, and a single coat, I was extremely happy with how it turned out. Now all that is left is to get it home and wait for the legs to arrive and assemble the desk; easier said than done.
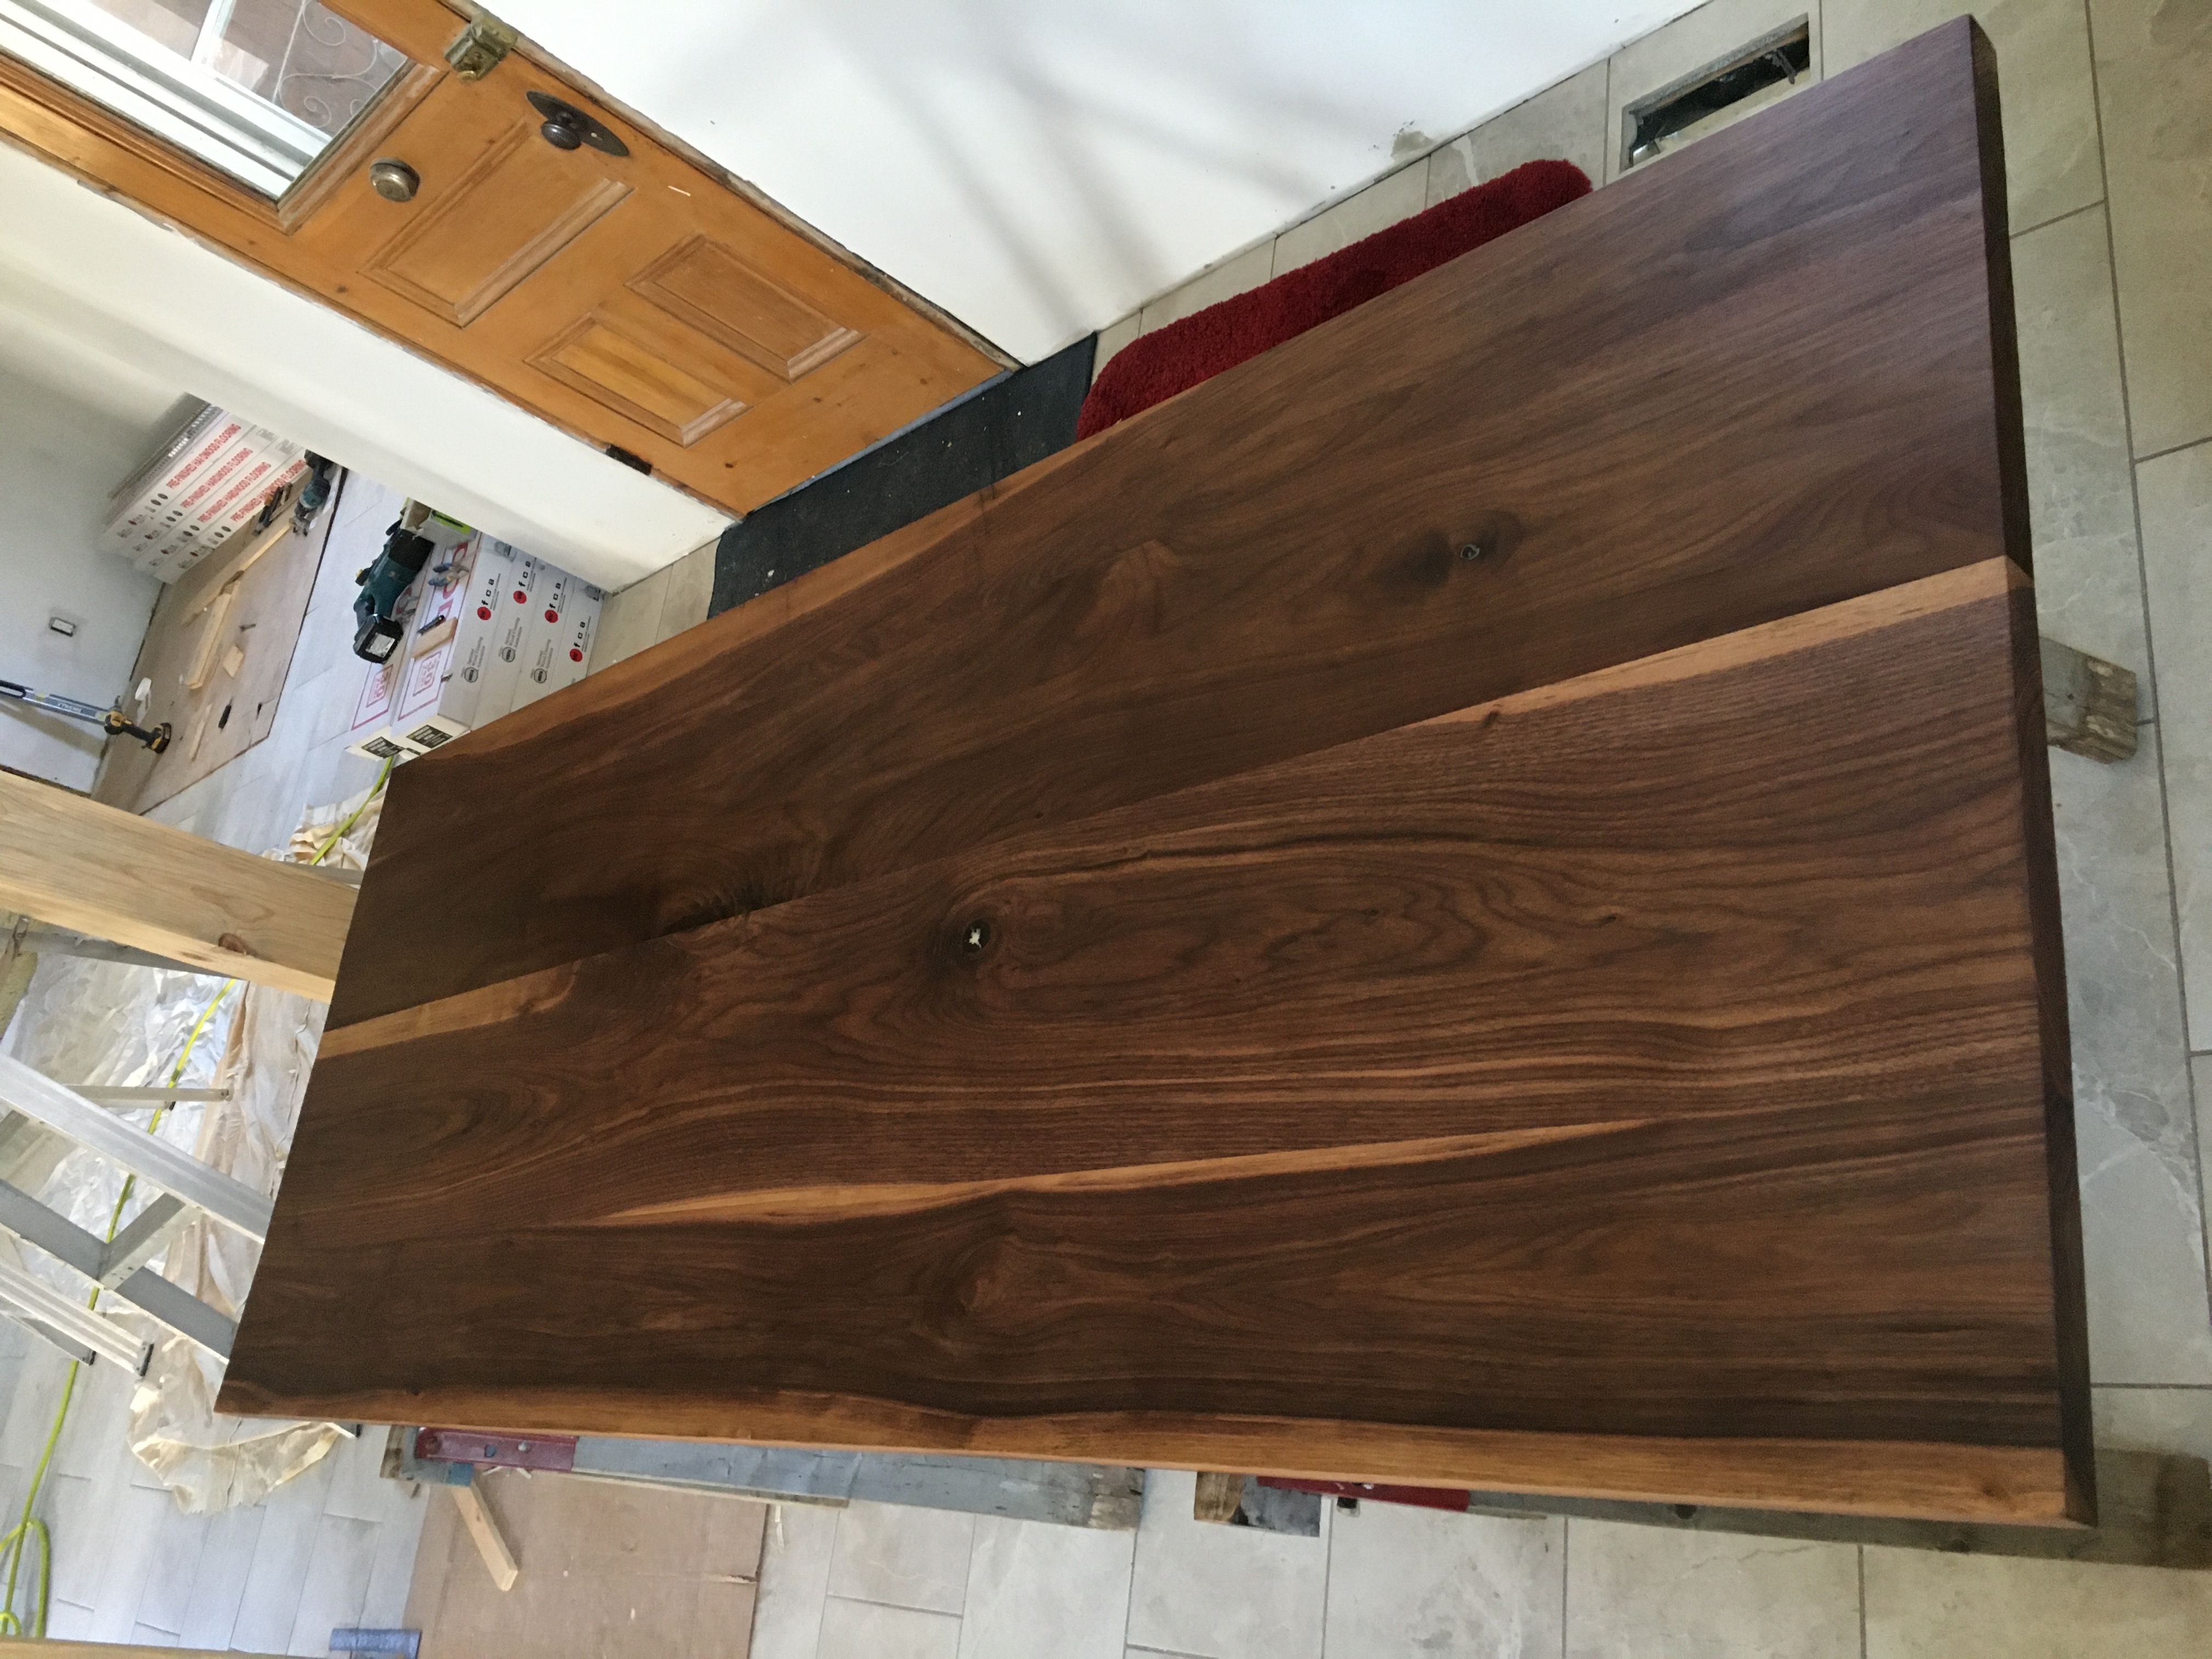
Now in two weeks the coating will have fully cured and be a water safe barrier.
Step 8 - Assembly
The day after oiling the desk the 3 boxes from Uplift Desk arrived that contained the legs for the standing desk and the monitor arms. The monitor arms were on back order and took an insanely long time to ship.
As part of the assembly stage you have to screw the base of the desk into the desktop. I don’t want to screw directly into the wood, because I want to be able to take it apart when I move so it can be put back together again. It seems like using metal inserts will be a good way to let me do that without striping the wood when putting it together and taking it apart. However, it turns out I should have ordered them before I had everything else for the desk ready to go because now I had to wait for the inserts to arrive.
Then, to continue the trend with eventing else with the assembly portion of the desk, I did not have any of my tools or drill bits with me to be able to actually put the inserts into the desktop. Now begins another waiting game until I have time to get some drill bits to make the pilot holes. I just have to sit here and suffer looking at all the parts of the desk layed out in the office, but not be able to use them yet. This is very very very sad.
Now that all of the parts of the desk have arrived the assembly process went really well. The threaded inserts worked perfectly.
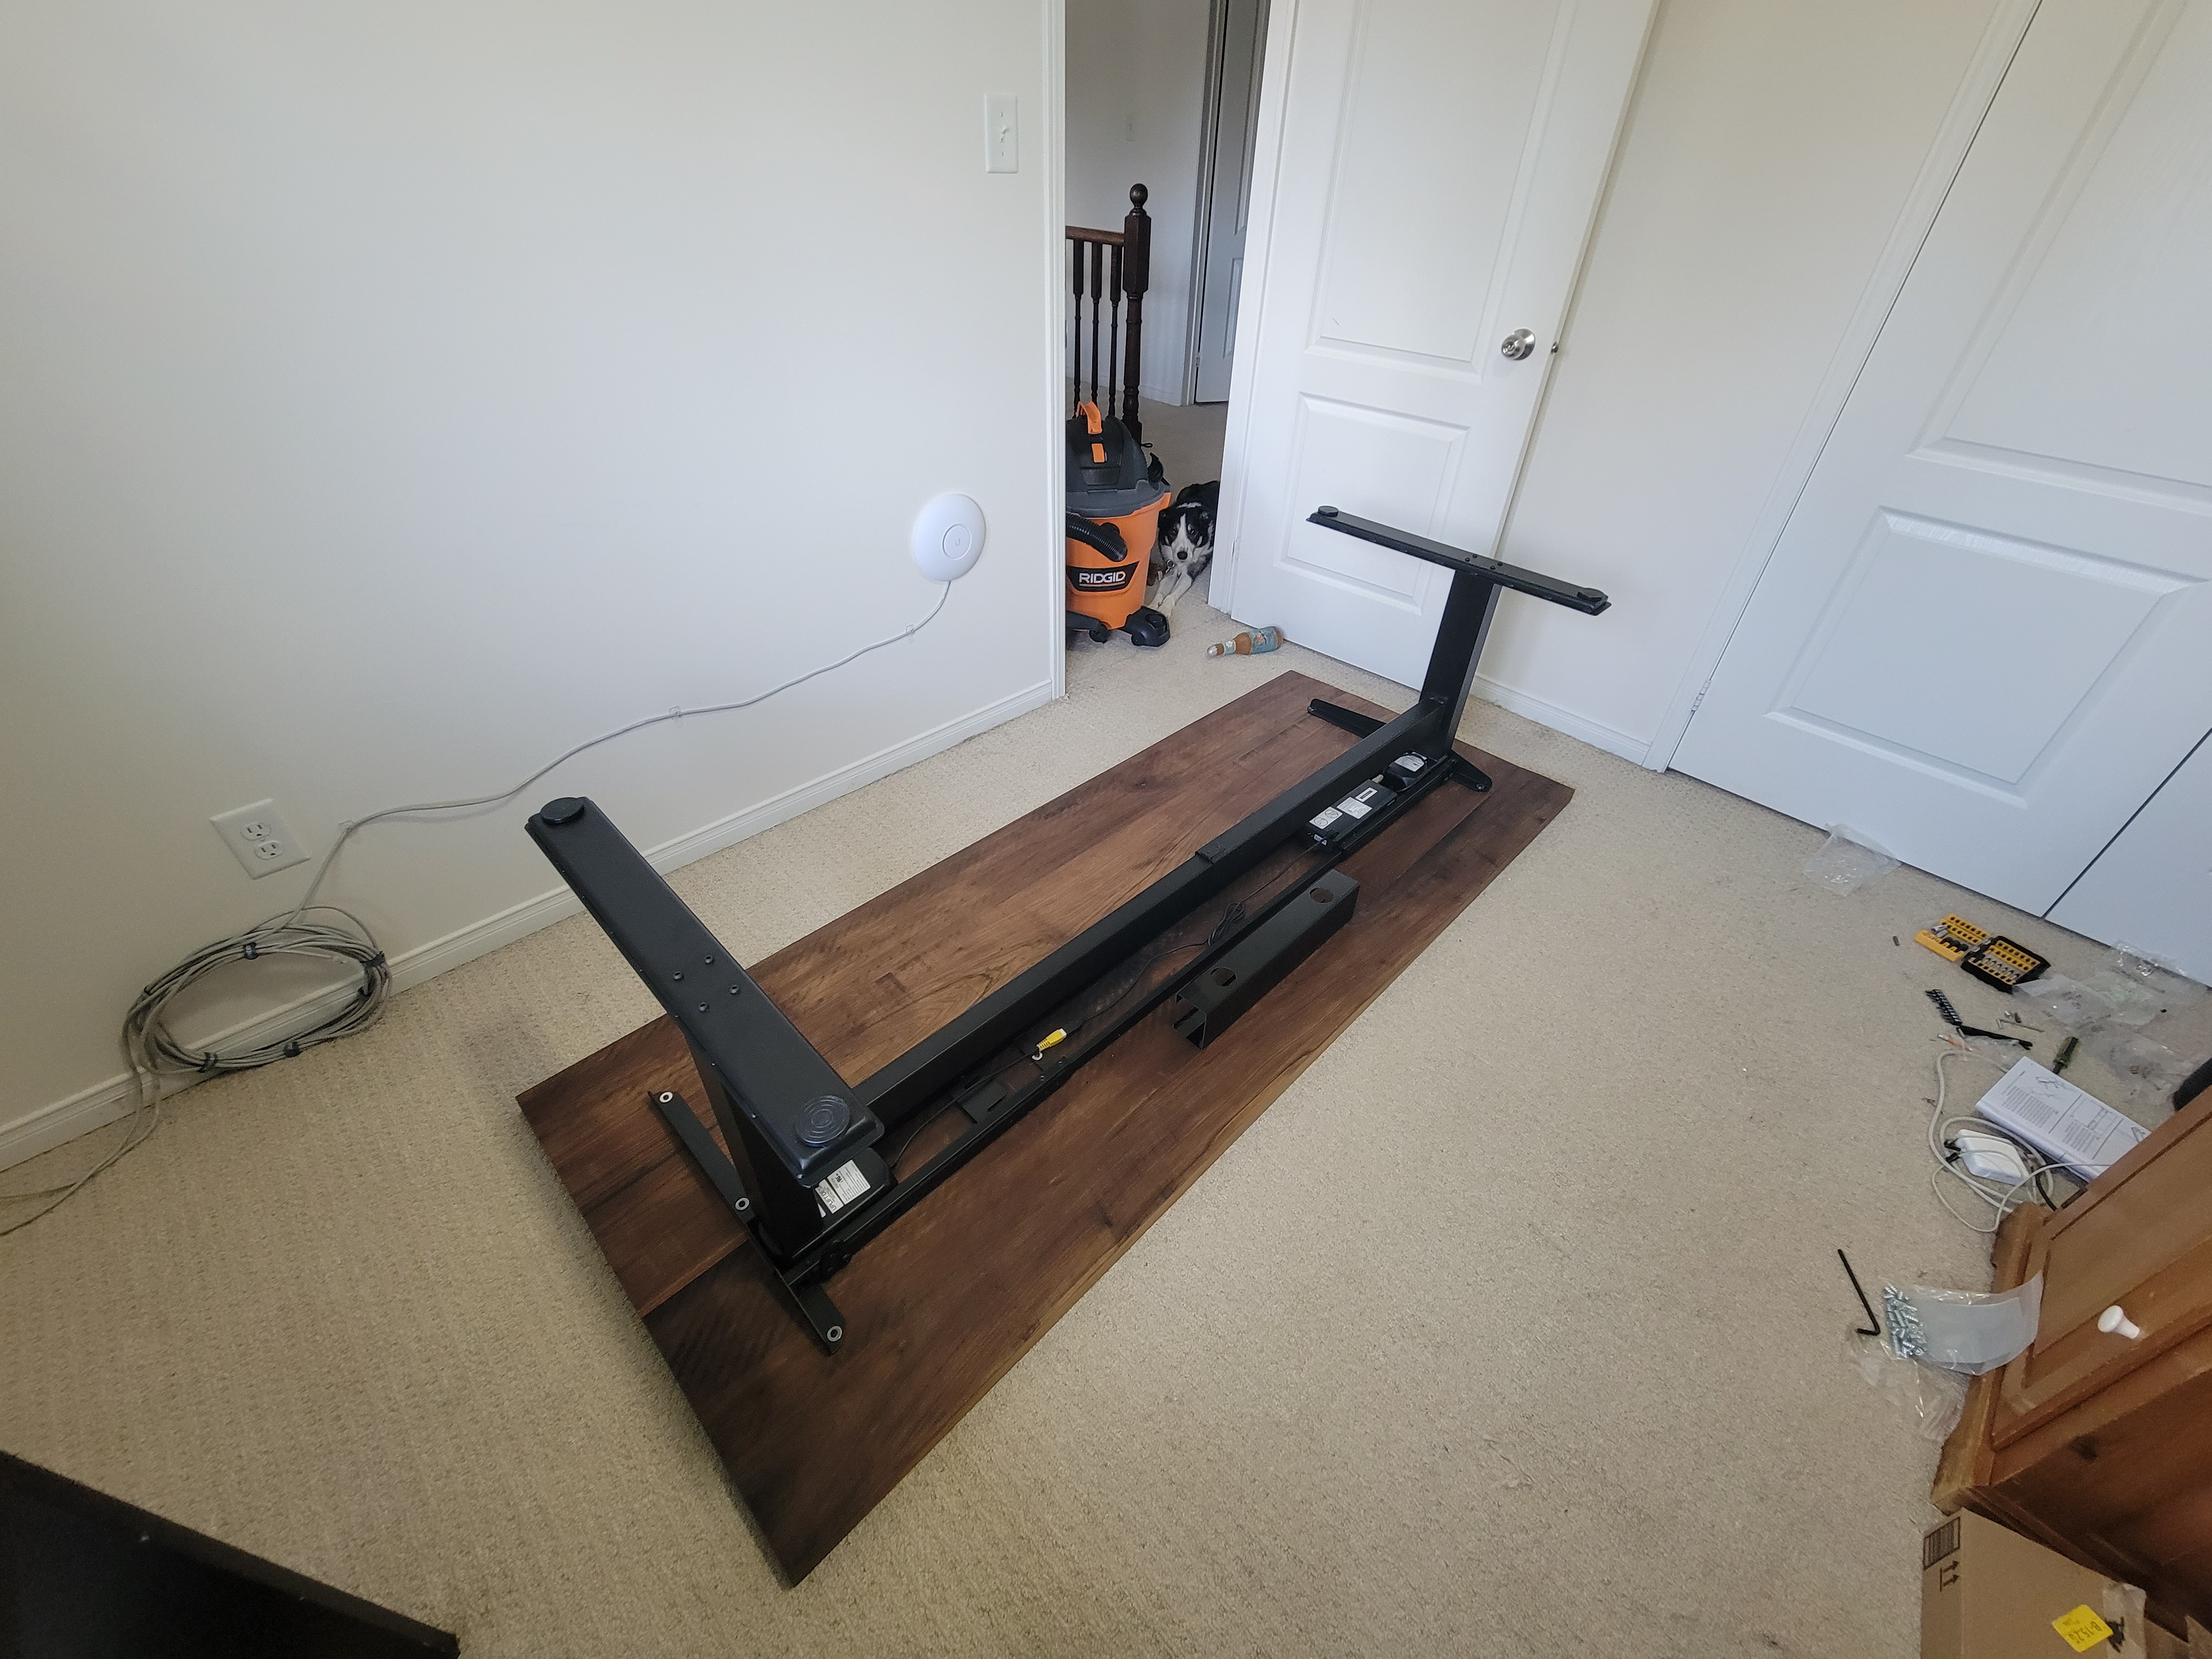
Once the assembly was done flipping it over and moving it into position was quite the challenge. The assembled desk weighs around 230lbs, and it needed to be held by the base and not the desk top! It would have been really really sad if everything got assembled perfectly fine and then the threaded inserts ripped out of the wood when trying to move it.
Once the desk was moved into position it was time to put the monitor arms together and attach them to the desk. Since the height of the desk is adjustable, the monitor height when sitting is different than the height standing. Putting the monitors on arms is a good way to mak it easy to adjust their hight and positions.
Step 9 - Finishing touches
The last part, by far the easiest, is moving everything over from the old desk to the new one.
